This document details how to install and test an SDL Tridion Content Manager 2013 install on Windows 2012 with a SQL Server database.
Creating a Development VM - Part 3
Tutorial Sections:
- Part 1: Setting up the VM
- Part 2: Preparing Windows
- Part 3: Setting up the Database
- Part 4: Installing the Content Manager
- Part 5: Validating the Content Manager
- Part 6: Installing Visual Studio
Install SQL Server 2012
Install SQL Server 2012
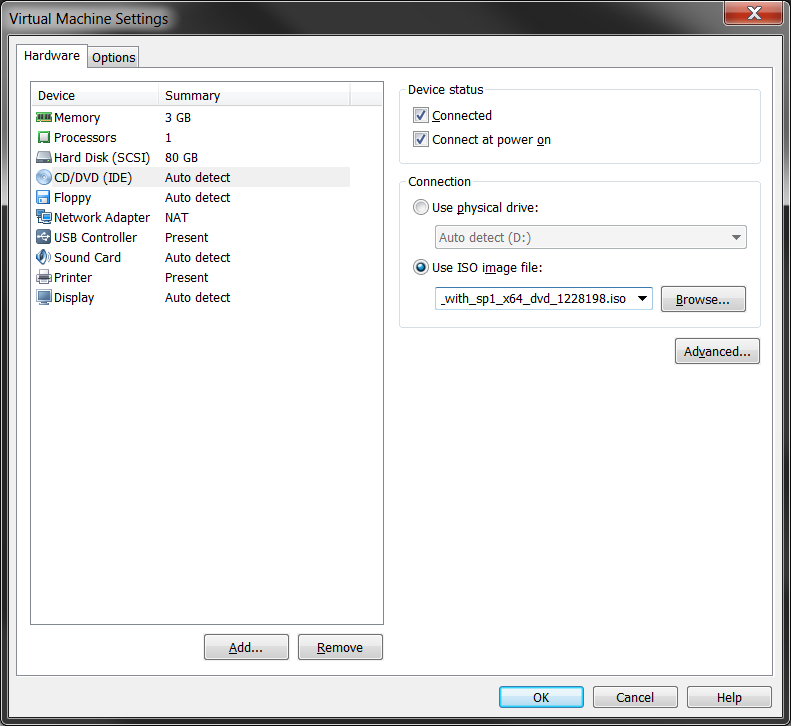
- Link the SQL Server 2012 ISO file to your VM image

- Select your CD/DVD drive and click on "Use ISO image file"
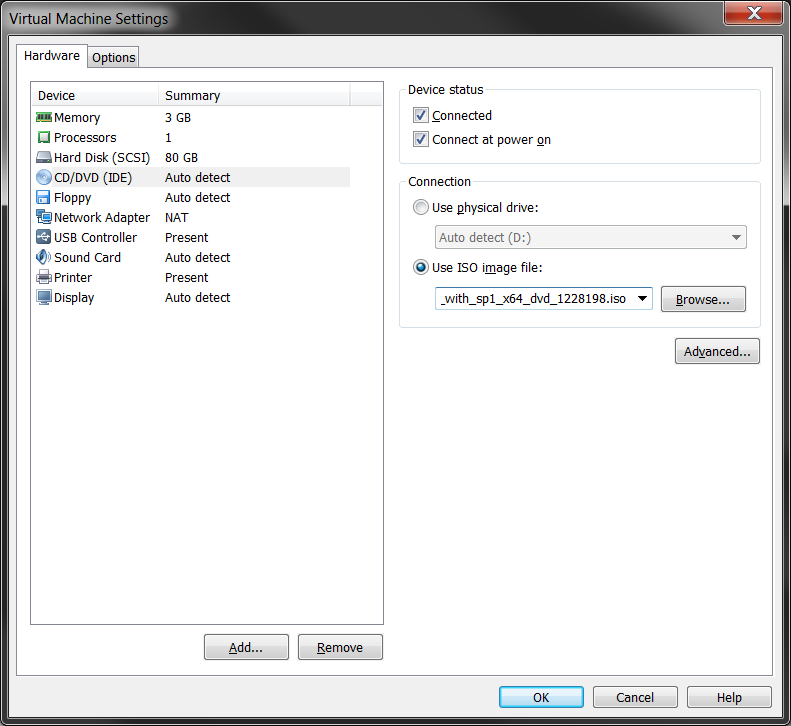
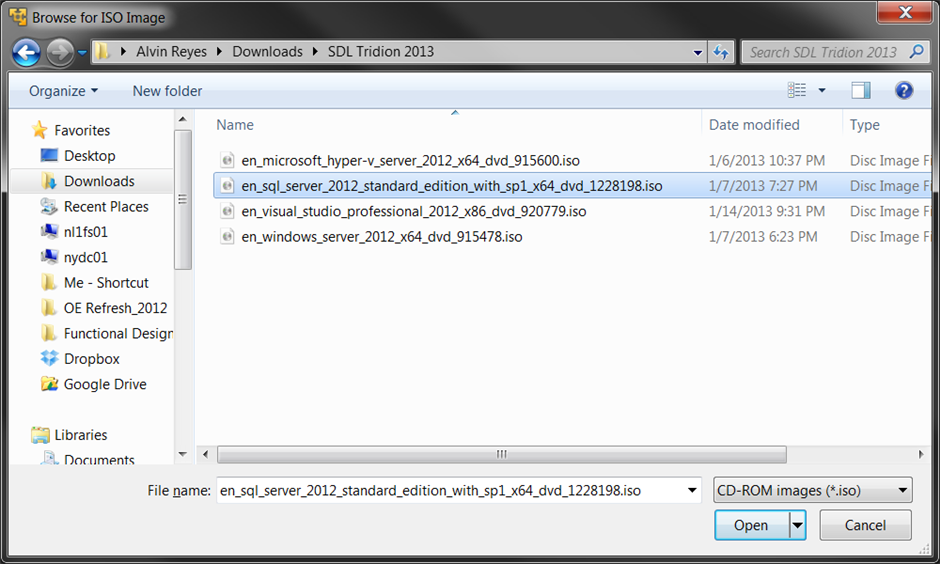
- Browse to the location of your SQL Server 2012 ISO and click open
- Click OK to continue
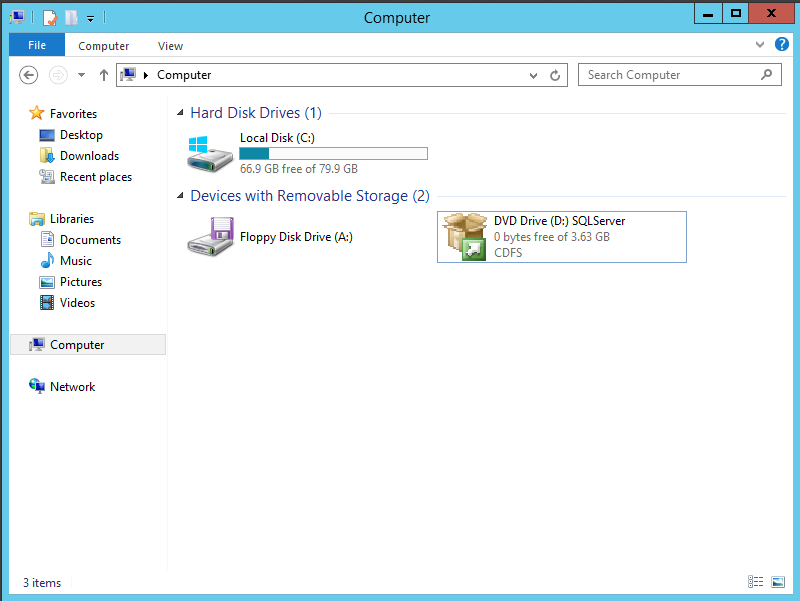
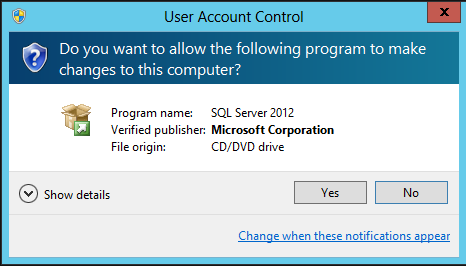
- Run Setup from the mapped drive.

- The welcome screen appears. Click on Installation (on the left side)
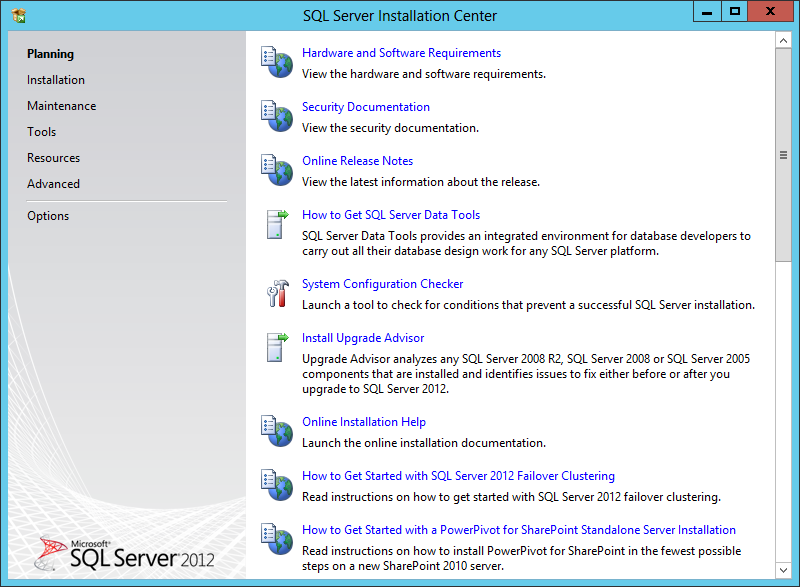
- Click on "New installation or add features to an existing installation."
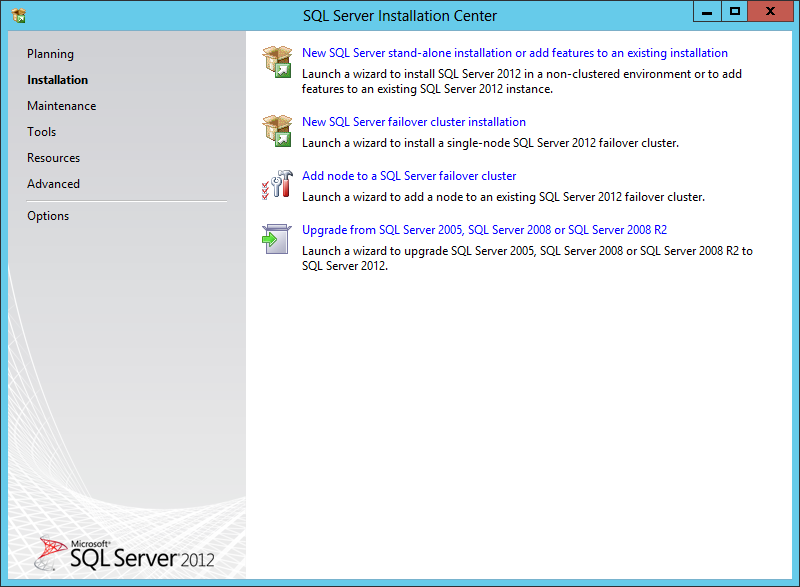
- Click "OK"
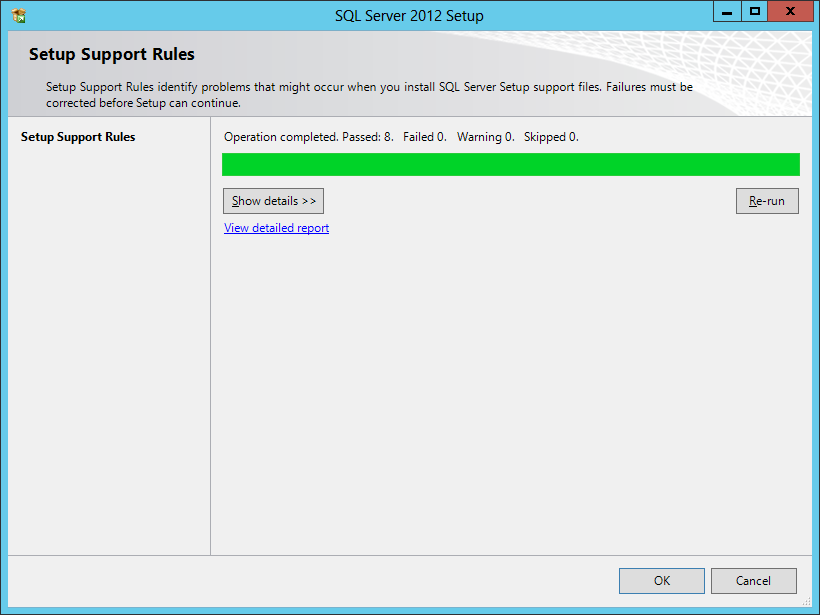
- Enter your product Key for SQL Server 2012
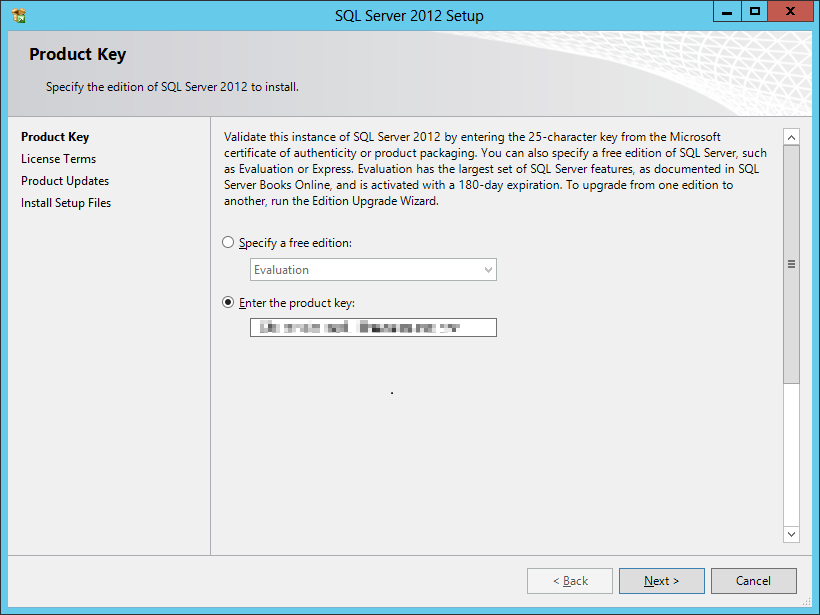
- Agree to the license terms and click Next
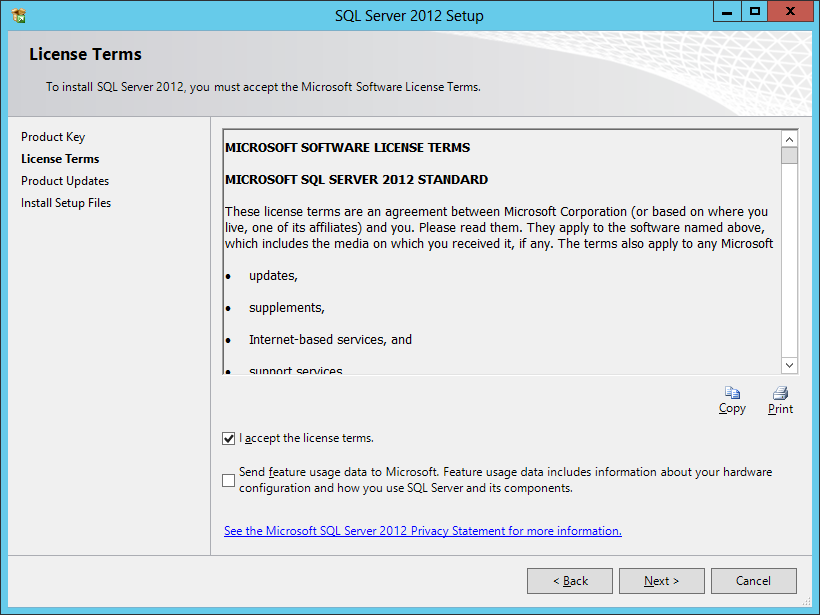
- Click Install
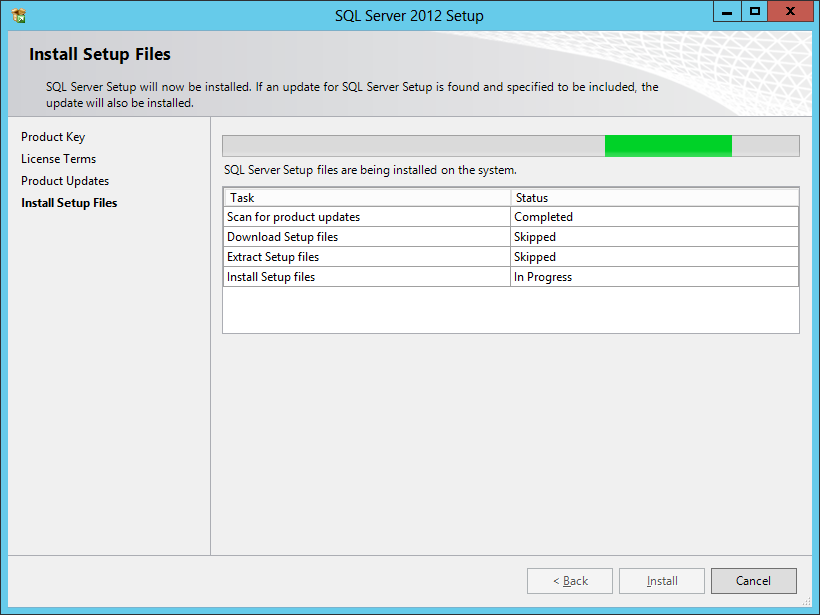
- Click Next

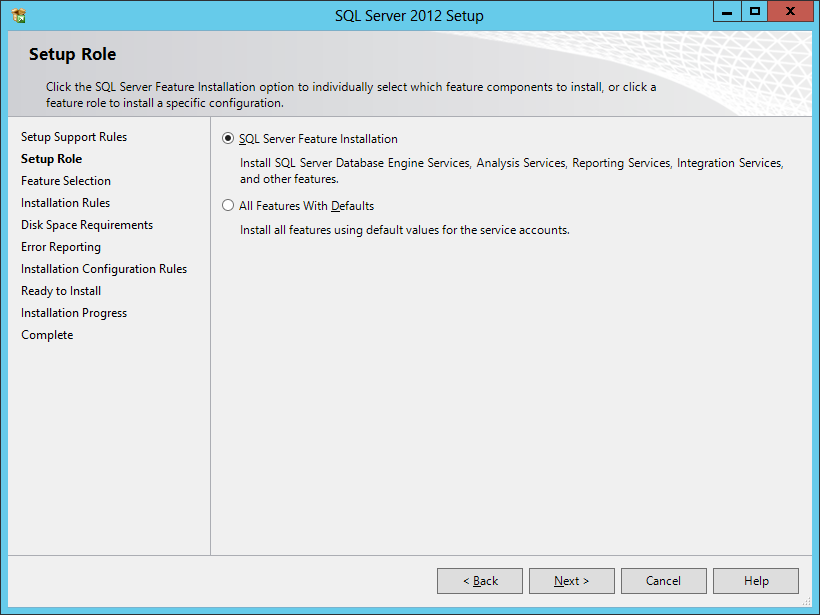
- Select to install a "SQL Server Feature Installation" and click next
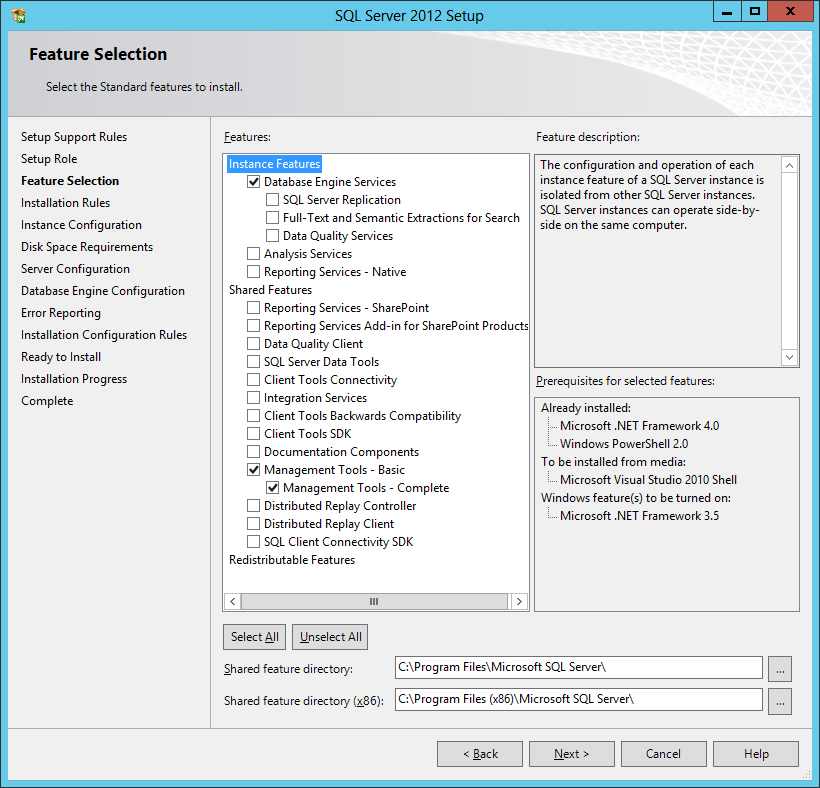
- Select to install the Database Engine and the Management Tools.
- Click next
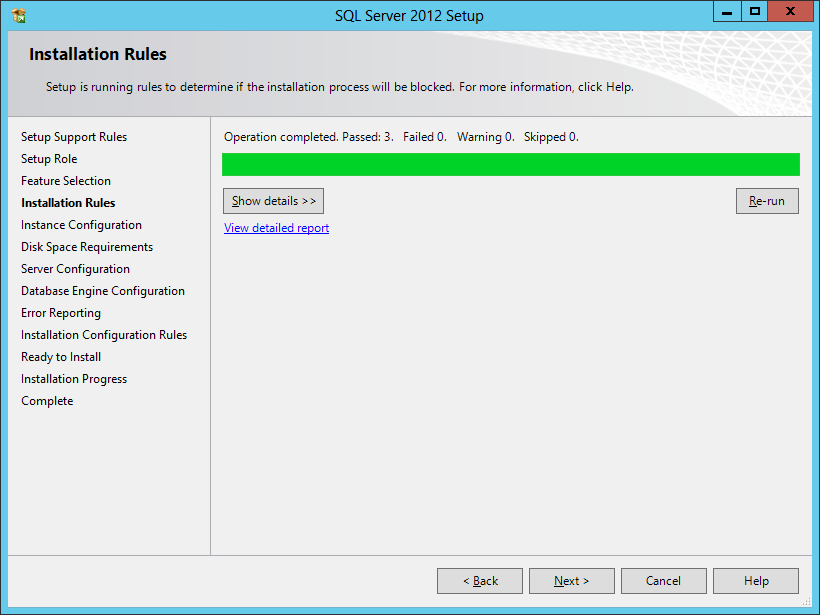
- Click Next
- Use the default name for SQL Server, unless you know what you're doing.
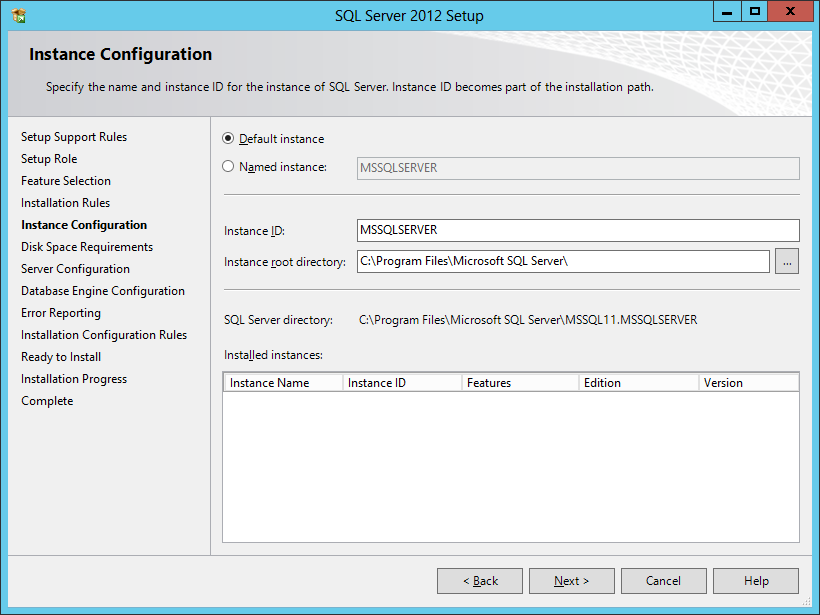
- Click Next
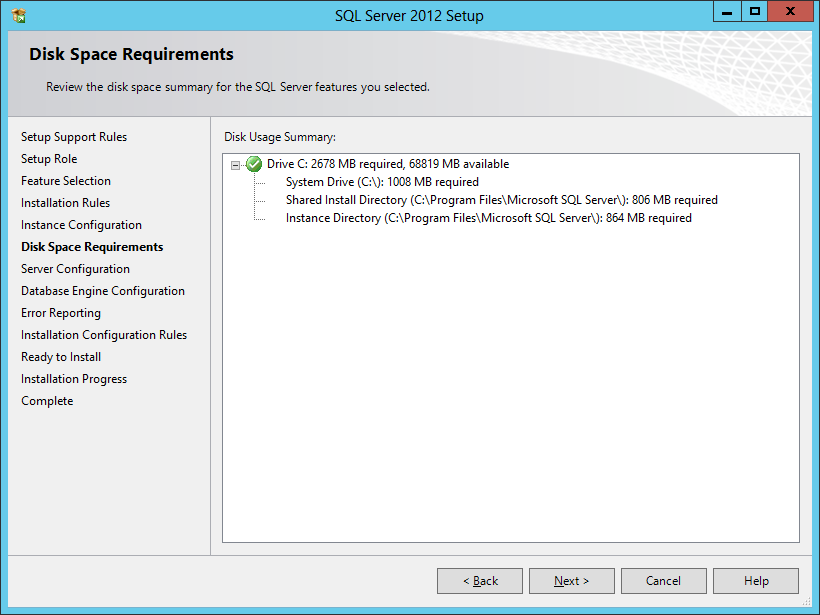
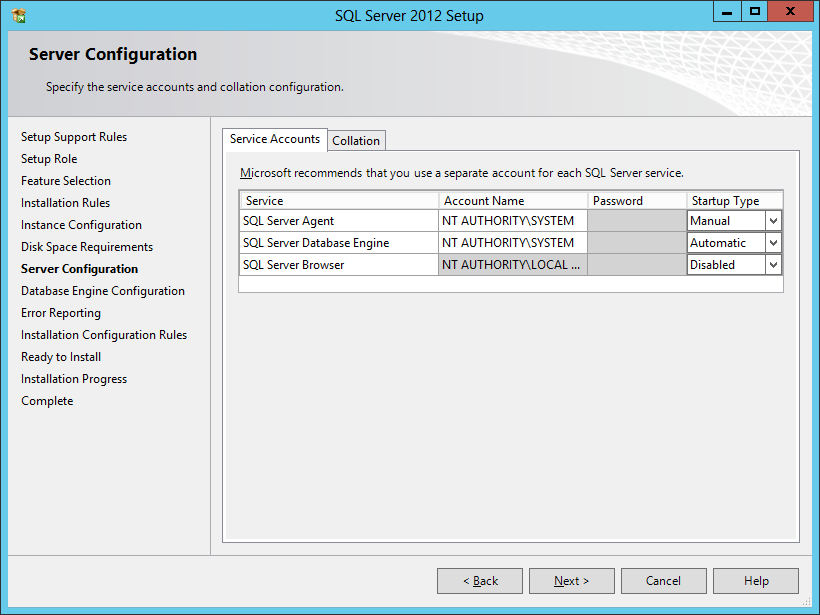
- Assign the System account to all services and click next, unless you know what you're doing.
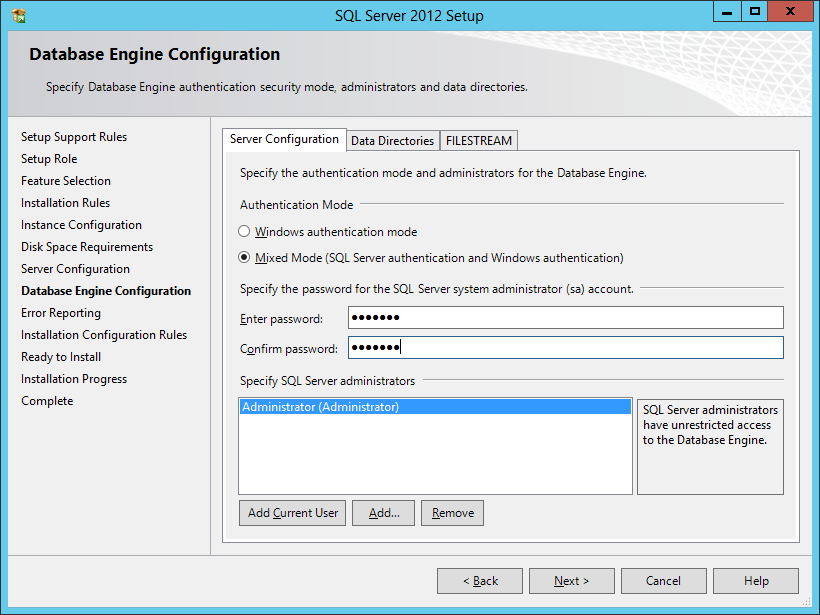
- Choose "Mixed Mode" authentication (required), enter a password for the SA user, and add the current user to the list of administrators.
- Click Next
- Click Next
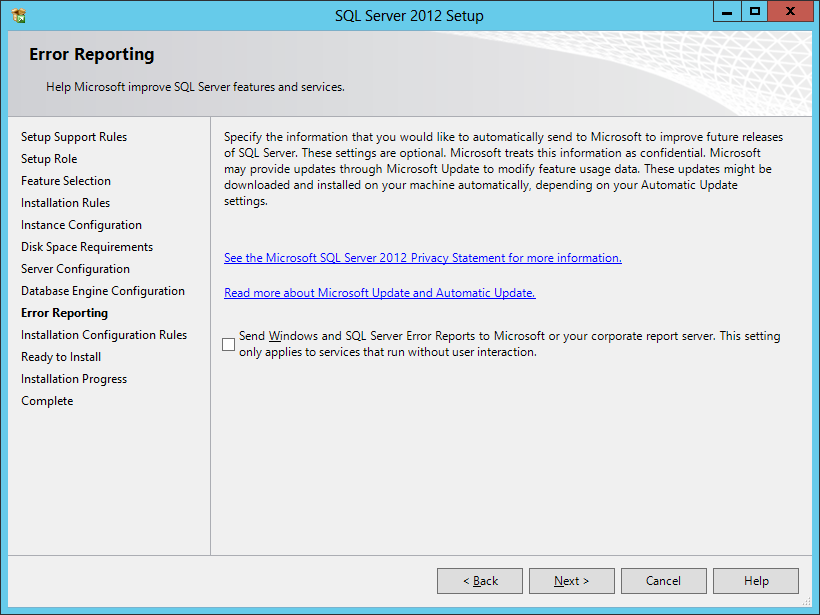
- Click Next
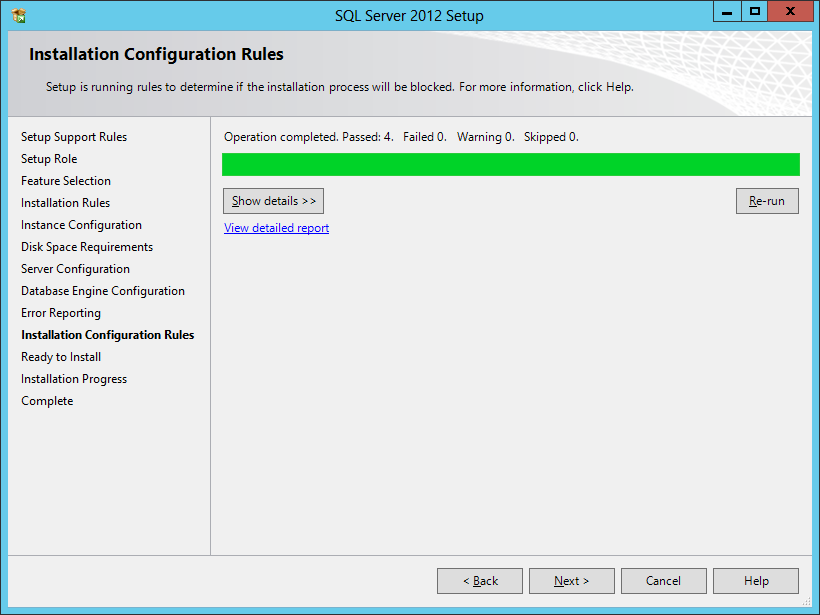
- Click Install
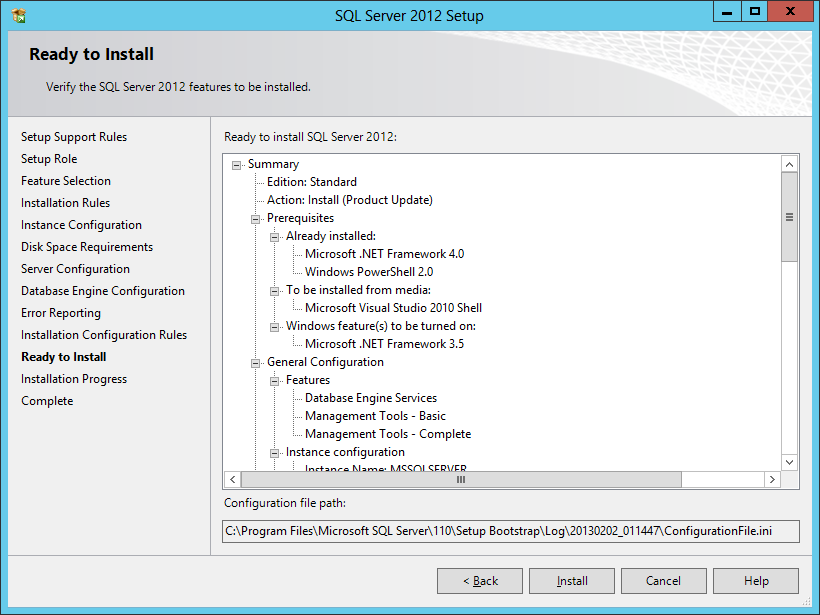
- Let the software install then click Close
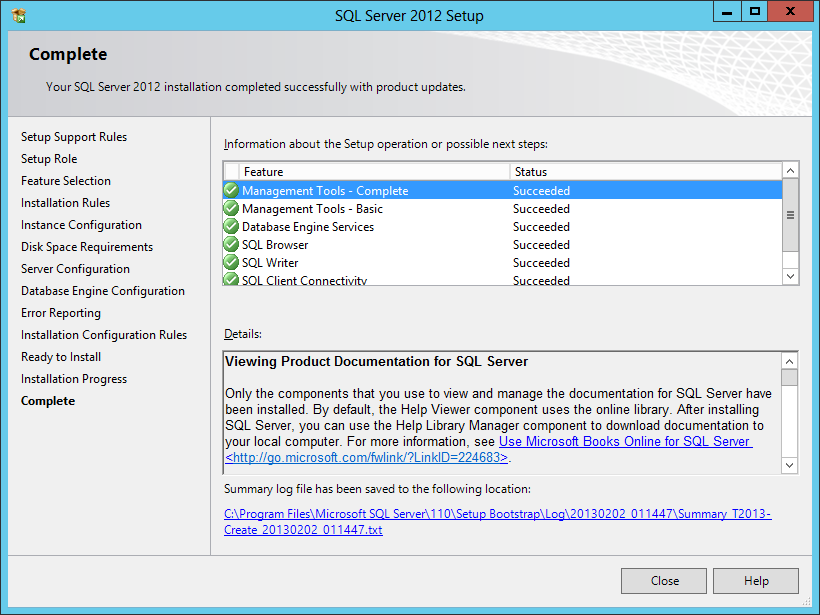
Run Windows update again to get the latest updates for SQL Server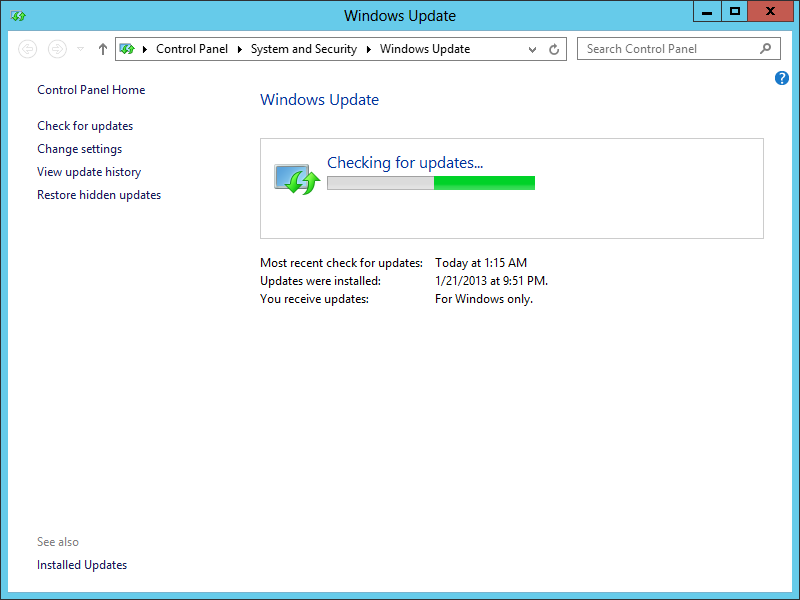
In the next steps, we will optionally backup your work thus far then create the two database schemas required by the Content Manager.
Backup!
Now's a good time to make a copy (or two) of your VM as a backup and to maybe test different versions of SDL Tridion. Suspend or turn off the guest (VM) and then copy the VM's entire folder on your host machine, giving it a name you'll remember
Run the Tridion Database Manager Scripts
Start PowerShell (keyboard Start Key, then type out "PowerShell") as an Administrator.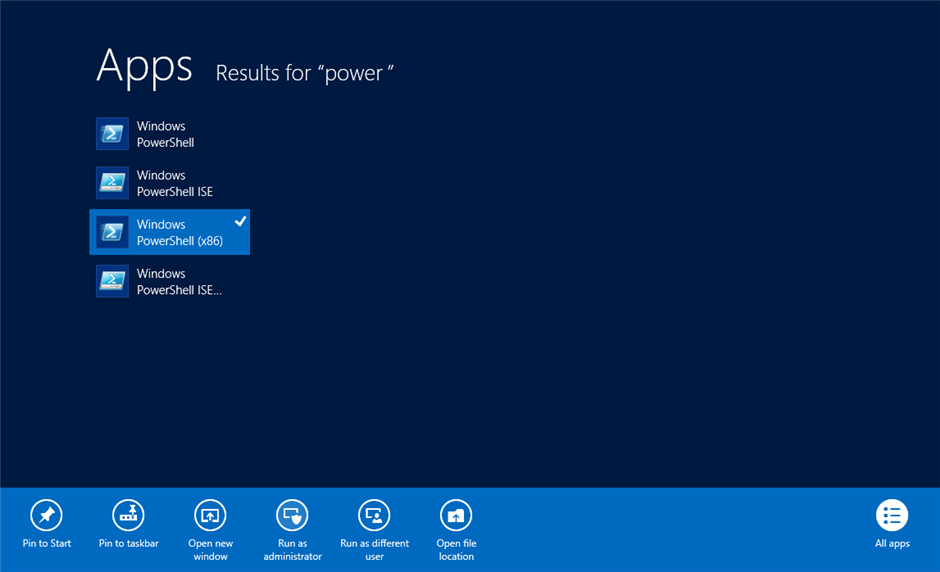
If needed, run:
Set-ExecutionPolicy AllSigned
Install the Content Manager Database
Navigate to your installation scripts folder then run:
& '.\Install Content Manager database.ps1'
(e.g. PS C:\[Tridion_Install]\Database\MSSQL> & '.\Install Content Manager database.ps1')
Follow the prompts in the script then enter "Y" to confirm.
Transcript started, output file is C:\Users\user_name\AppData\Local\Temp\Install Content Manager database_21140302162013.log
Database Server name. Default value is '(local)':
User name of database administrator account. Default value is 'sa':
User password of database administrator account: *******
Current Microsoft SQL Database server version is:
Microsoft SQL Server 2012 (SP1) - 11.0.3000.0 (X64)
Oct 19 2012 13:38:57
Copyright (c) Microsoft Corporation
Standard Edition (64-bit) on Windows NT 6.2 <X64> (Build 9200: ) (Hypervisor)
.
Database name. Default value is 'Tridion_cm':
User name of database account. Default value is 'TCMDBUser':
Enter user password of database account: *******
Re-enter user password of database account: *******
Full user name of Tridion Content Manager MTSUser account. Default value is 'T2013-CREATE\MTSUser':
Default Tcm Administrator UserName. Default value is 'T2013-CREATE\areyes': Administrator
WARNING: Specified value is not a valid identificator.
Default Tcm Administrator UserName. Default value is 'T2013-CREATE\areyes':
The name of the local system account. Default value is 'NT AUTHORITY\SYSTEM':
Verify ready
Do you really want to create database with specified settings?
[Y] Yes [N]No [?] Help (default is "Y"):
Optionally Run Other Scripts
Based on your VM needs, optionally create the Translation Manager and Audience Manager databases using the PowerShell scripts as well. Be sure to install or skip these features in the next section, the Content Manager installation.
Set Auto-Growth Settings
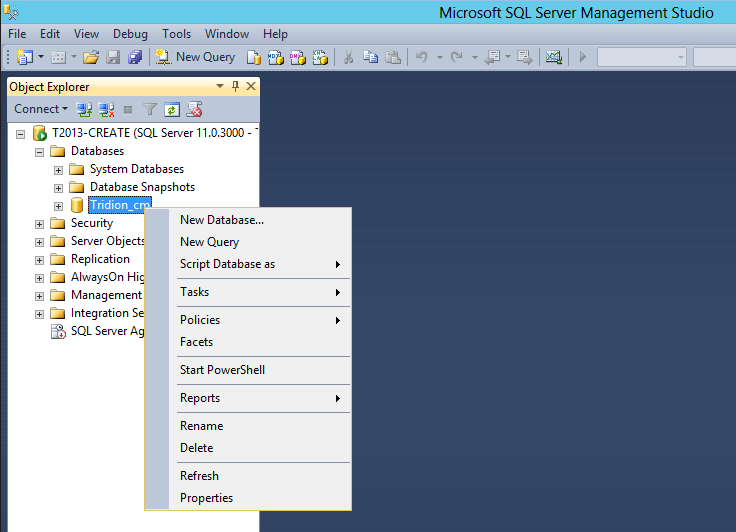
- Open Microsoft SQL Server Management Studio and optionally confirm the Tridion_cm database is created.
- Right-click on it and select Properties.
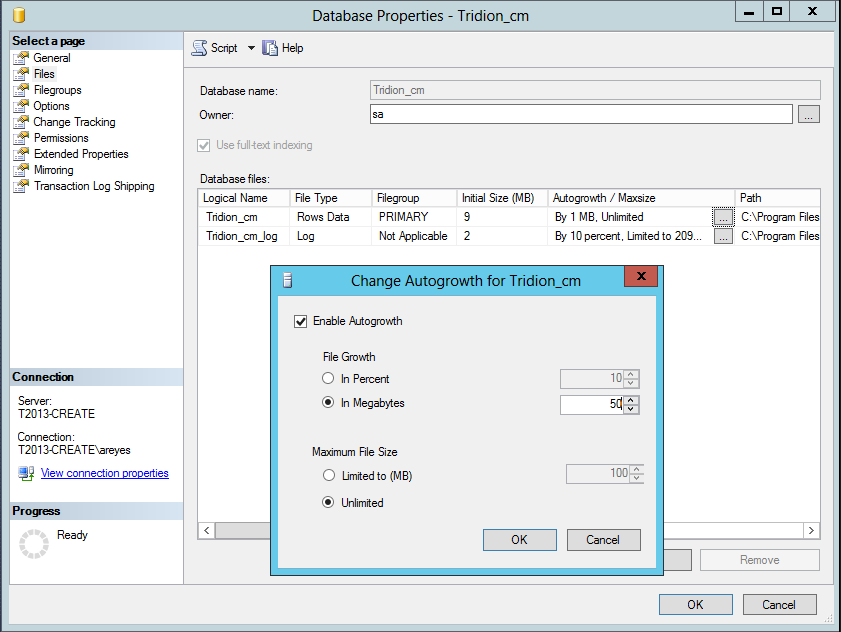
- Choose Enable Autogrowth set to 50 Megabytes. Optionally set a Maximum File Size (depending on your use case for the VM).
Next section: Installing the Content Manager
Move on to the next section: Installing the Content Manager

 Translate
