- Download the DXA.Java distribution
- Install DXA in SDL Tridion
- Install non-public JARs to your local Maven repository
- Get the DXA source code from Github & compile/install it your local Maven repository
- Create a DXA web application
Before you start
- A vanilla SDL Tridion 2013 SP1 HR1 instance (is not needed to be on the same machine)
- SDL Tridion content delivery setup with Broker DB, deployer and preview service
- Tomcat 7.x/8.x
- Java 7/8
- Java IDE such as IntelliJ IDEA, Eclipse, Netbeans etc
- Maven 3.x
Step 1: Download the DXA.Java distribution
Step 2: Install DXA in SDL Tridion
Step 3: Install non-public JARs to your local Maven repository
mvn install
mvn install:install-file -DgroupId=com.microsoft.sqlserver -DartifactId=sqljdbc4 -Dversion=4.0 -Dpackaging=jar -Dfile=sqljdbc.jar
Step 4: Get the DXA source code from Github & compile/install it your local Maven repository
mvn install
git clone https://github.com/sdl/dxa-modules
mvn install
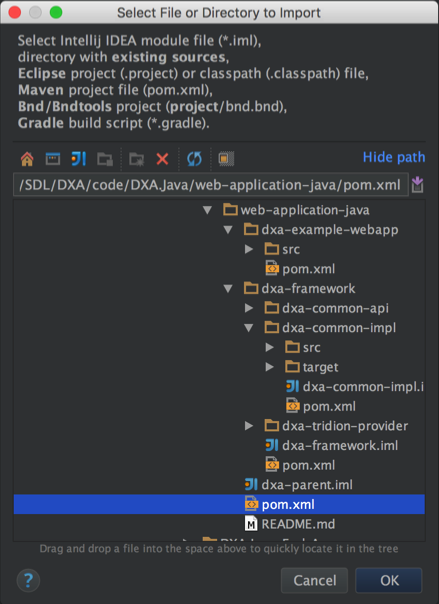
Step 5: Create web application
  <groupId>com.yourcompany</groupId>
  <artifactId>your-webapp</artifactId>
  <version>your-version</version>
  <packaging>war</packaging>
 <dependency>
      <groupId>org.codehaus.jettison</groupId>
      <artifactId>jettison</artifactId>
      <version>1.3.4</version>
 </dependency>
 <dependency>
      <groupId>net.sf.ehcache</groupId>
      <artifactId>ehcache</artifactId>
      <version>2.8.2</version>
 </dependency>
 <dependency>
      <groupId>org.springframework</groupId>
      <artifactId>spring-context-support</artifactId>
      <version>3.2.0.RELEASE</version>
</dependency>
  @Configuration
  @ComponentScan(basePackages = {"com.sdl.webapp", "com.sdl.dxa". "com.yourpackage"})
  public class WebAppConfiguration {
  }
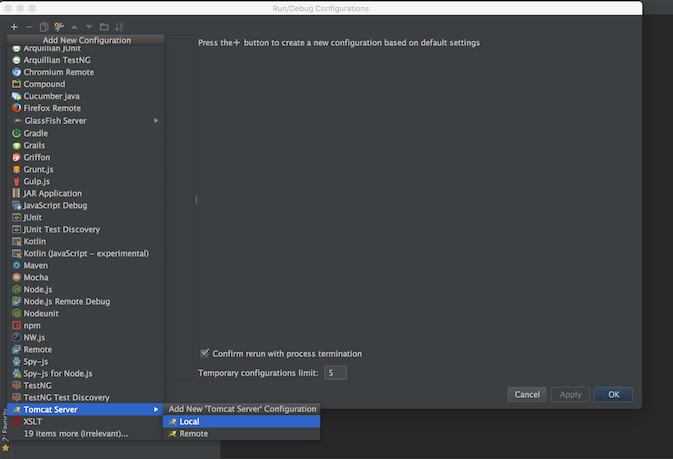
1. Select ‘Edit Configurations'
2. Add new configuration -> Tomcat Server -> Local
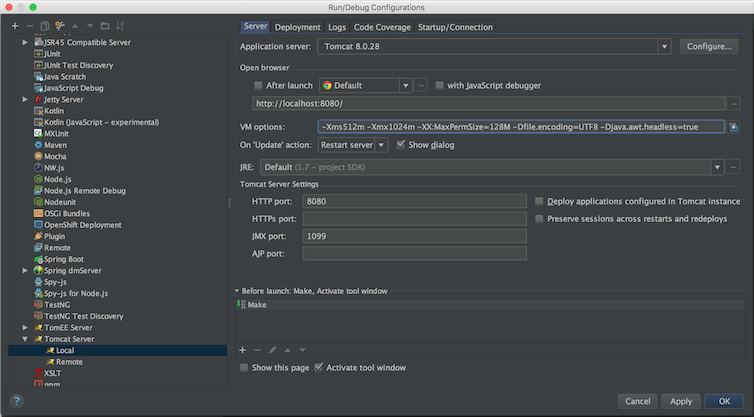
3. Configure your Tomcat server by selecting your Tomcat instance and then configure as below. The JVM options you can tune to your preference depending on your webapp characteristics. I usually use the following JVM options for DXA, which works fine as a good starting point:
-Xms512m -Xmx1024m -XX:MaxPermSize=128M -Dfile.encoding=UTF8
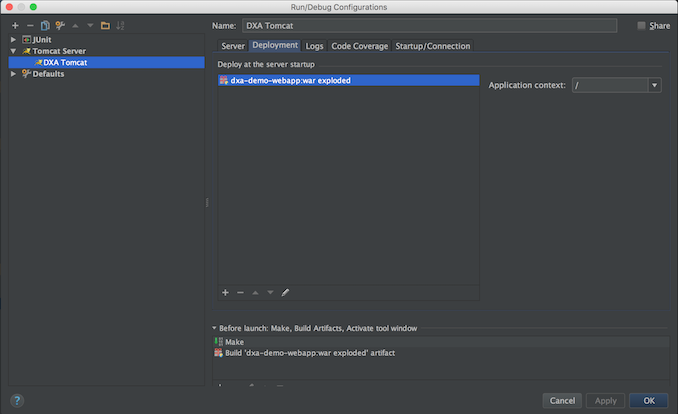
5. Then you add your webapp as an exploded WAR to the Tomcat server and set application context to ‘/‘ (root webapp):
6. Click ‘Ok’ and then you have Tomcat configuration for your new DXA webapp.
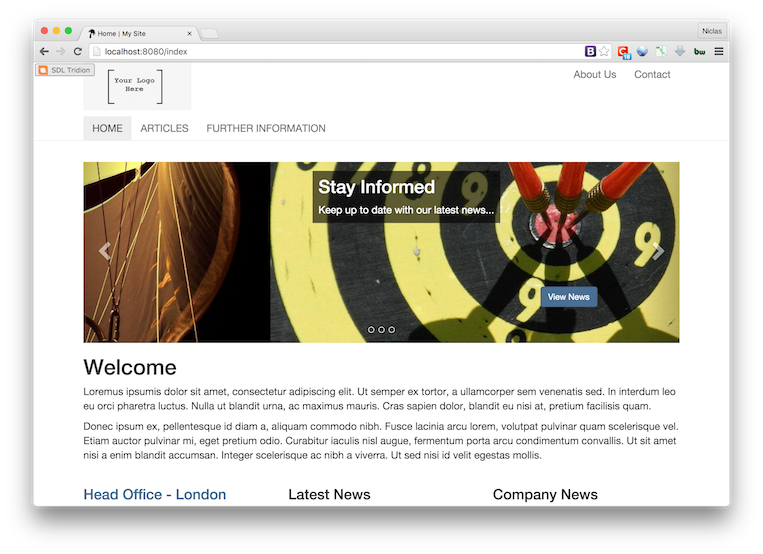
7. So now you can just click on the Run button and the Tomcat server will startup with your webapp. If no errors in the console, you should be able to go to http://localhost:8080 in your browser and a functional DXA site should appear:

 Translate
