Install and Configure Oracle Clients
In this step we will configure both 32 bit and 64 bit Oracle clients, with the features required for a Tridion Content Manager server. You can download both versions of the Oracle client from http://www.oracle.com/technetwork/database/enterprise-edition/downloads/112010-win32soft-098987.html and http://www.oracle.com/technetwork/database/enterprise-edition/downloads/112010-win64soft-094461.html. Note that you will require a valid Oracle login to download this software.
The order in which the Oracle clients are installed is very important. Please ensure that you install the 64 bit client first!
In addition to the steps outlined here, you need to install the ODAC 11.2.0.1.2 patch, available from Oracle at this location. There may be additional patches required based on your platform.
Tutorial Sections
- Part 1: Preparing the Database
- Part 2: Preparing Windows
- Part 3: Installing the Oracle Clients
- Part 4: Create Tridion Databases
- Part 5: Install Tridion Content Manager
- Part 6: Test and Validate
Installing the Oracle clients
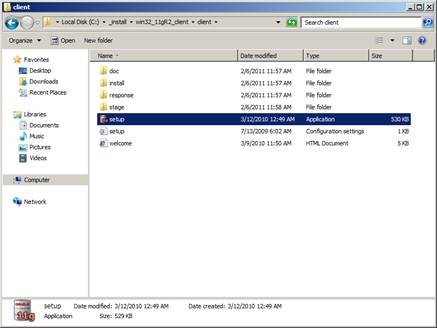
Locate the setup program for the 64 bit Oracle client and launch it (note: it may take a few minutes for the installer to initialize)
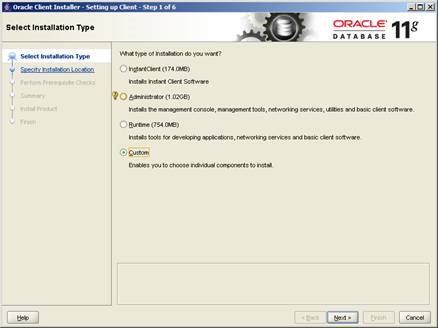
Select a "Custom" installation and click Next.
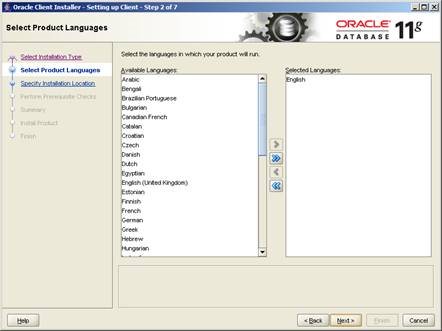
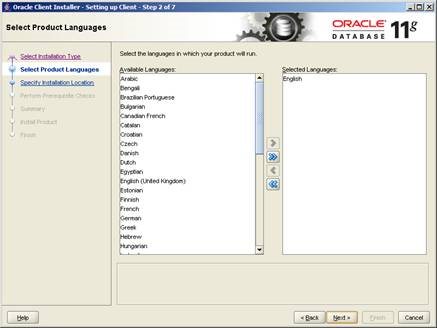
Select the languages in which the client should be available, and click Next.
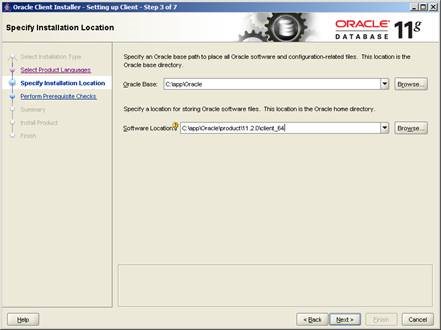
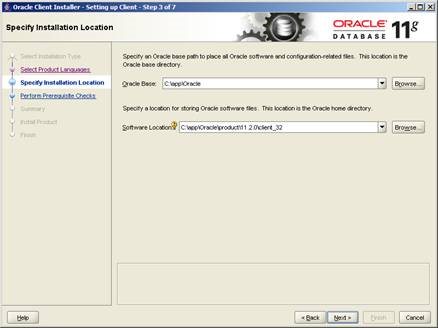
Specify the location on disk where the Oracle should be installed. To make it clear which client is which, we have renamed Oracle Home directory to "client_64". Please note that we also specified C:\app\Oracle as the "Oracle Base" folder.
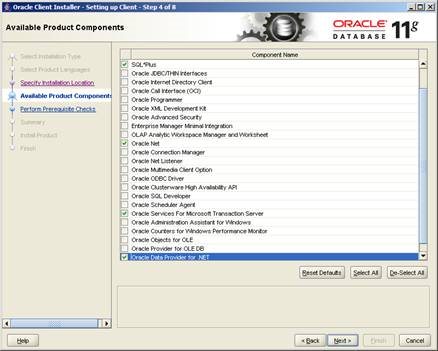
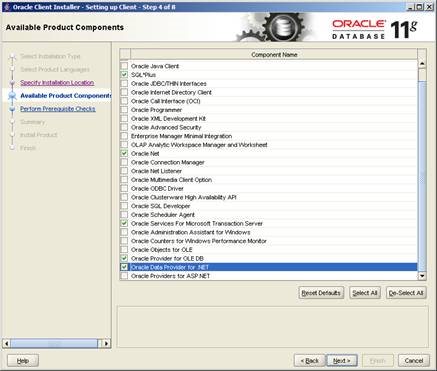
Select to install the following features:
- SQL*Plus
- Oracle Net
- Oracle Services for Microsoft Transaction Server
- Oracle Data Provider for .NET
Click Next
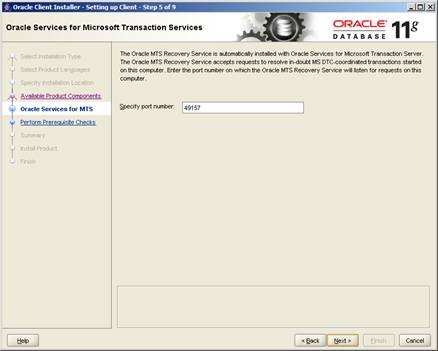
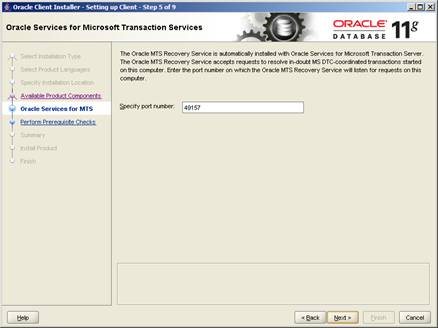
Use the default port for Microsoft Transaction Services.
Click Next
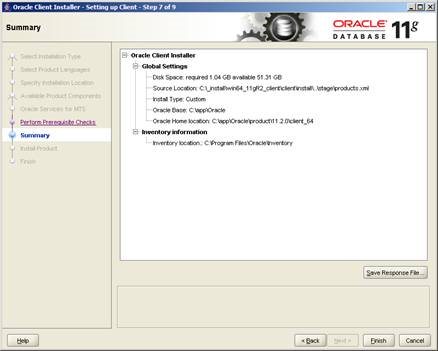
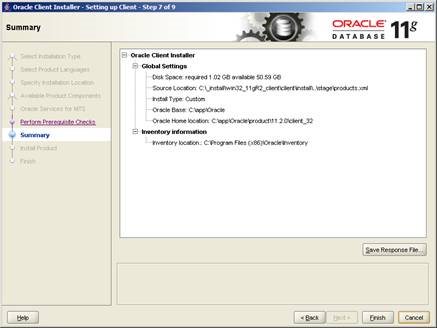
Confirm your installation options and click Finish to perform the installation.
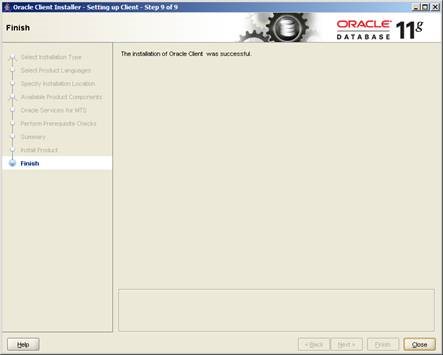
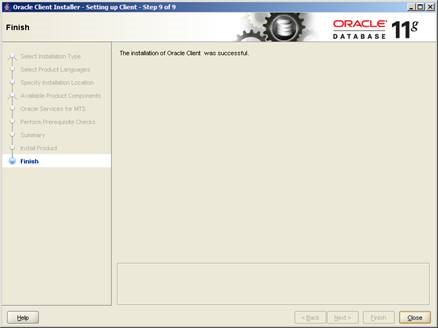
Click "Close" to complete the installation
Locate the setup program for the 32 bit Oracle client and launch it (note: it may take a few minutes for the installer to initialize)
Select a "Custom" installation and click Next.
Select the languages in which the client should be available, and click Next.
Specify the location on disk where the Oracle should be installed. To make it clear which client is which, we have renamed Oracle Home directory to "client_32". Please note that we also specified C:\app\Oracle as the "Oracle Base" folder.
Select to install the following features:
- SQL*Plus
- Oracle Net
- Oracle Services for Microsoft Transaction Server
- Oracle Provider for OLE DB
- Oracle Data Provider for .NET
Click Next
Use the default port for Microsoft Transaction Services.
Click Next
Confirm your installation options and click Finish to perform the installation.
You will receive an error message because MTS was already added. Press Continue.
Click "Close" to complete the installation
Configure and test the Oracle clients
|
Copy (or create) a TNSNAMES.ORA file for both Oracle clients and place it in both Oracle Homes |
c:\app\Oracle\product\11.2.0\client_32\network\admin c:\app\Oracle\product\11.2.0\client_64\network\admin |
|
Sample TNSNAMES.ORA where oracle11gr2 is the name of the oracle server AND database instance. |
# TNSNAMES.ORA Network Configuration File: /u01/app/oracle/product/8.1.7/network/admin/tnsnames.ora # Generated by Oracle configuration tools. oracle11gr2= (DESCRIPTION = (ADDRESS_LIST = (ADDRESS = (PROTOCOL = TCP)(HOST = oracle11gr2)(PORT = 1521)) ) (CONNECT_DATA = (SERVICE_NAME = oracle11gr2) ) ) |
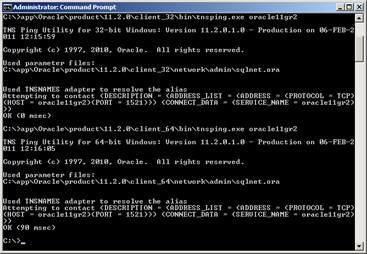
Try using TNSPING from both Oracle homes
Verify the assemblies added to C:\Windows\assembly
You have now installed the 32 and 64 bit Oracle client features required by Tridion Content Manager.
Next: Create the Tridion Databases
In the next step in this tutorial we will create the Tridion database schemas

 Translate
