

Hi to all,
In a previous post I suggested a possible alternative to align existing source and target (already translated) documents to create a brand-new TM using MS Word, MS Excel (or any other similar advanced office applications) and the SDL Studio 2015 “Bilingual Excel” file filter.
Now I’d like to share with you a possible way to convert an existing TM containing short segments to a glossary (or termbase, if you prefer).
Foreword
Most of you might consider this “useless” and, most of times, you are completely right because common TM segments are often longer than two or three single words. But suppose that someone (e.g. a client) transmit to you an existing and approved TM to use when translating a file, and that it contains very short segments (say 1, 2, 3 or 4 words in total) that also appear inside longer segments (something similar to this):
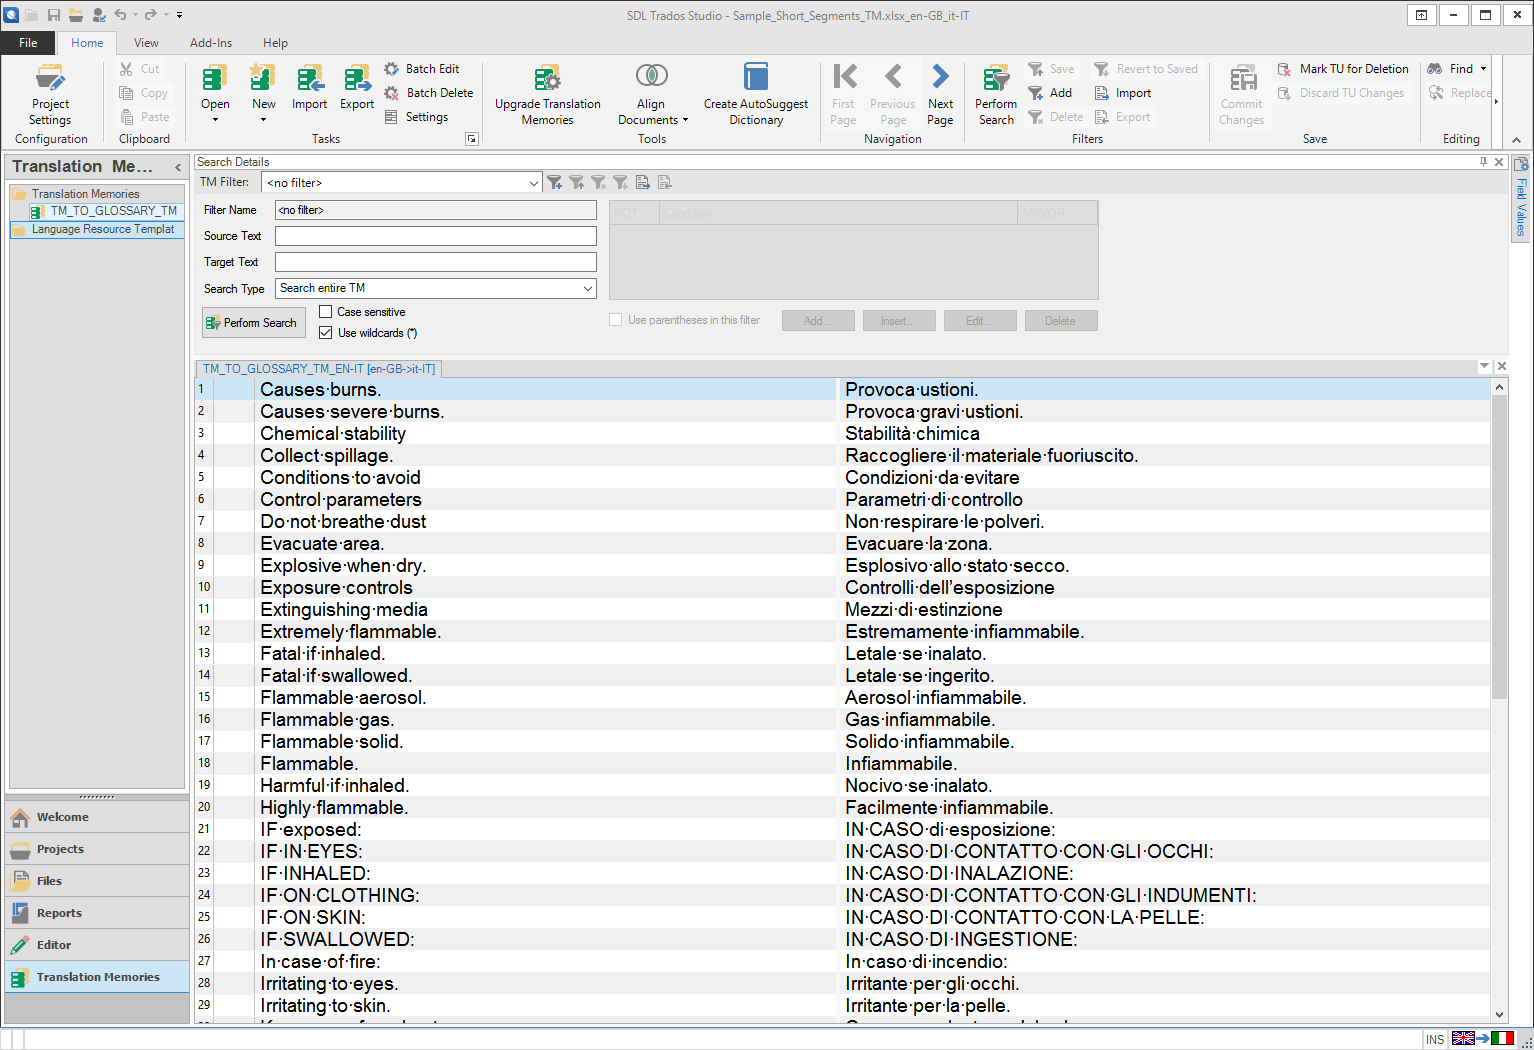 Fig. 1
Yes, of course, when translating we have the “Concordance search” function (F3 or Ctrl+F3) to look up a single term used in an already translated segment, and the chance to record source and target terms in a MultiTerm glossary (Ctrl+F2 or Ctrl+Shift+F2) but, as I am a deep user of proprietary glossaries that I apply to various projects, I prefer having them in a MultiTerm file.
Procedure
1. The first step is to load the translation memory received by the client in the “Translation Memories” view (see Fig. 1).
2. Click on the loaded TM name and then on the “Home > Export” icon of the Translation Memories view (or right click on the name of the loaded translation memory, and select the “Export” command from the contextual menu):
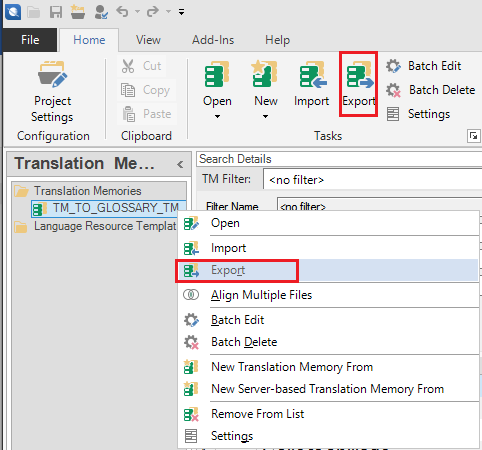
Fig. 2
to open the “Export Options” dialog.
3. In the “Export to:” field type the path and the name of the exported file, and click on “Finish”, OR click on “Browse” to navigate to the proper folder where you want to store the exported file, assign a name to the file itself (*.tmx), and click on “Save”.
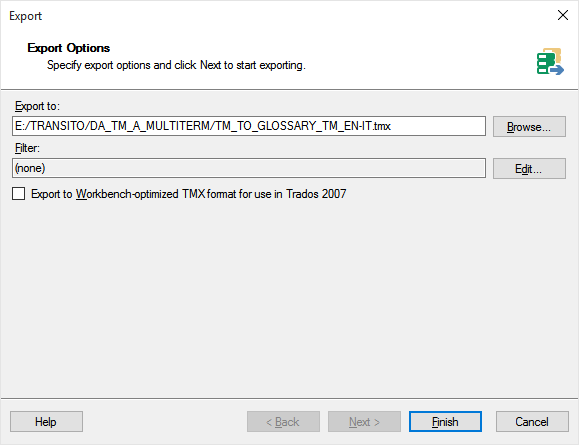
Fig. 3
Note: SDL Studio exports their native TM files (*.sdltm) as TMX files (*.tmx) (avoid the TMX Compressed Files [*.tmx.gz] as we must open the exported file with a word processor).
4. When the export is complete, click on “Close” to confirm and close the “Export” dialog. The exported TM ([filename]*.tmx) has been saved in the selected folder.
As a *.tmx file, actually, is a “plain text” file you will be able to open it with a plain text editor.
5. Before opening it, select the TMX file, create in the same folder a copy of it (Ctrl+C and then Ctrl+V), and open it with a plain text editor (in this example, Notepad++) to see its content:
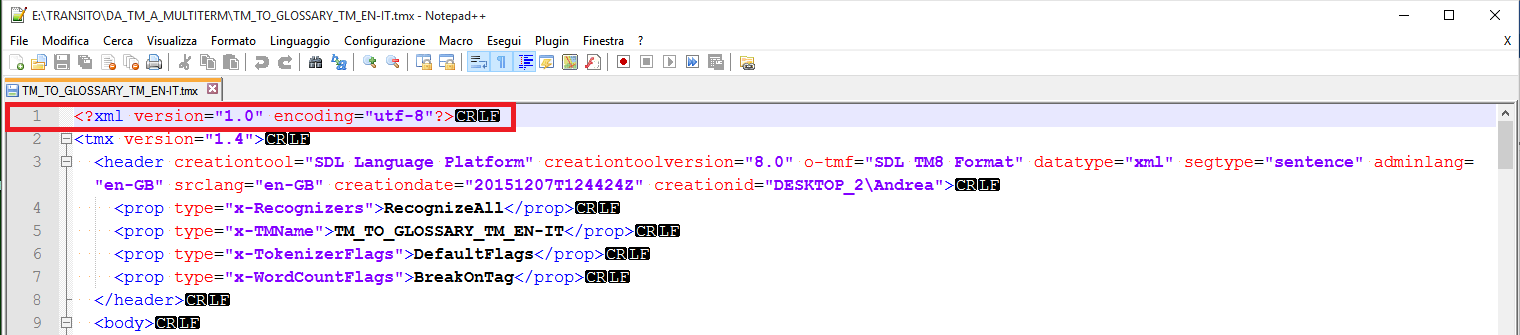 Fig. 4
6. Delete the first line (from <?xml … to "utf-8"?> including the carriage return [CR] and line feed [LF] characters [corresponding to an “end-of-paragraph” character = ¶]) and save the file as a *.txt (plain text) file.
Note: If you do not delete this first line, when you try to open the file in MS Word, it will be automatically interpreted as an XML file and NOT as a plain text file.
7. Now you can safely open the file in MS Word (or any other advanced word processor) and work on it without any problem. If and when asked, select the “Unicode (UTF-8)” encoding option as per the example here below (or any other encoding you need):
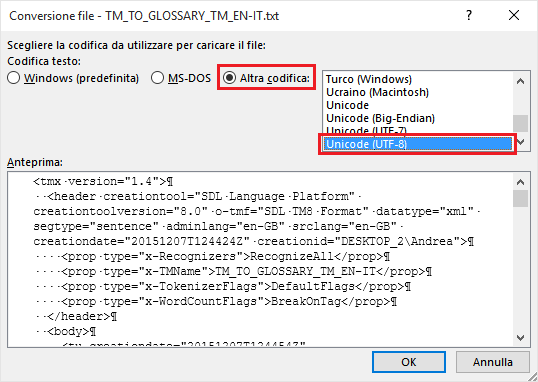
Fig. 5
You should get a result similar to this one (initial part of the document):
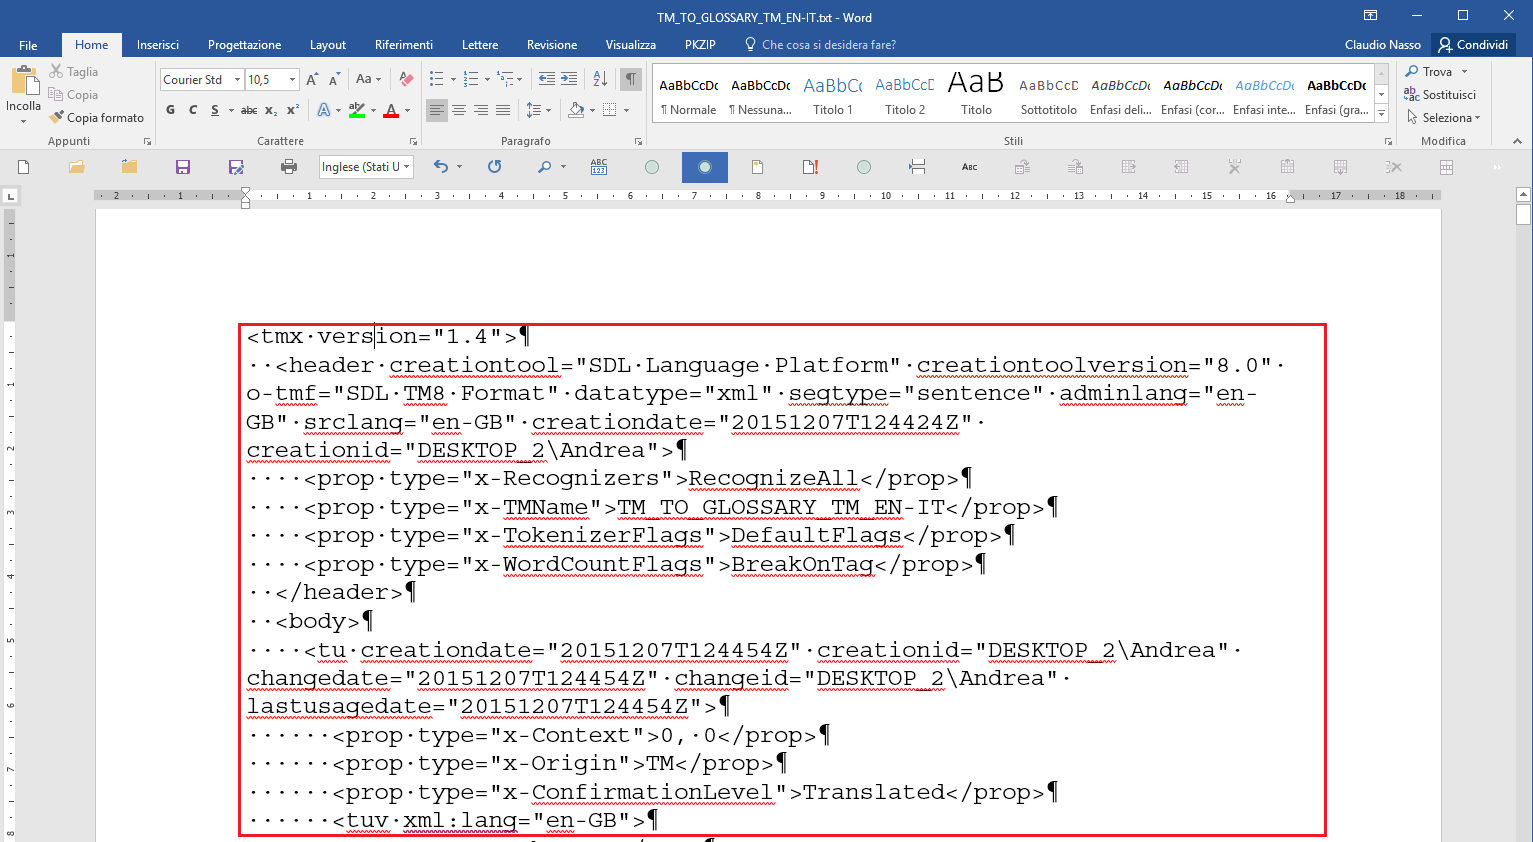
Fig. 6
8. Now we can start to “clean” the loaded file deleting all unnecessary stuff (tags, etc,) created when exporting the TM to a TMX file.
As MS Word “understands” regular expressions (Regex) we can freely use them. First of all we must use a “Find and Replace” Regex instruction to delete the file header lines from <tmx version="1.4"> … to <tuv xml:lang="en-GB"> (or your source language code (e.g. de-DE, fr-FR, etc.).
To do this, open the “Find and Replace” dialog clicking on the “Replace” button on the “Home” ribbon (or using the suggested keys combination to open it), check the box “Use Wildcards”, in the “Find:” field, type \<tmx*\xml:lang??en-GB??? (i.e. all stuff between <tmx and "en-GB">, end-of-paragraph [ ¶ ] included), do not type anything in the “Replace with:” field and, finally, click on “Replace All”.
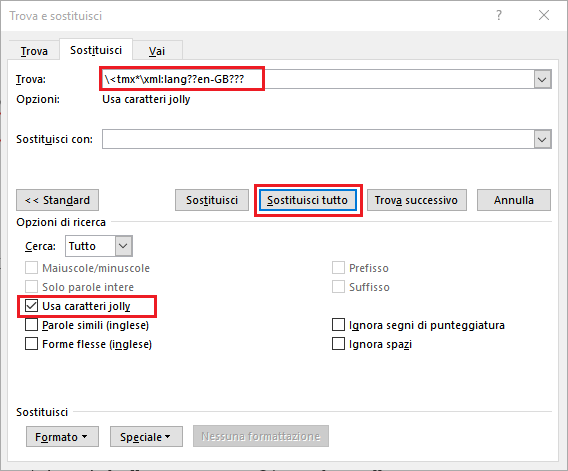
Fig. 7
The first page of your document should now appear as follows:
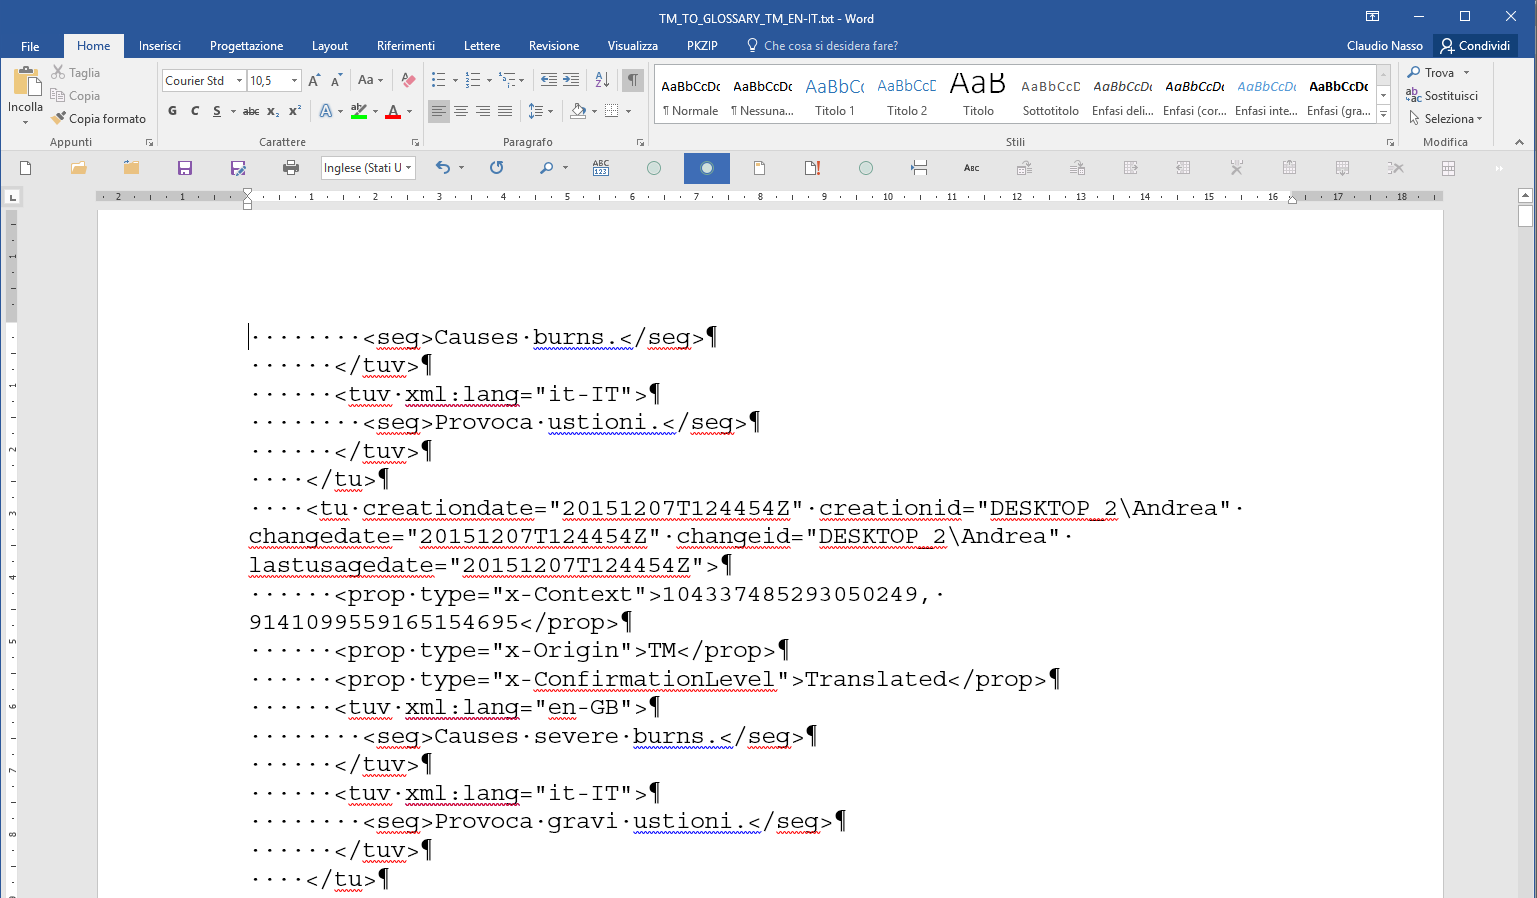
Fig. 8
Note: if not yet visible, to see on the screen the “unprintable characters” (e.g. spaces as dots, paragraph marks as ¶, and tab characters as a right pointing arrow, etc.), in MS Word you need to check the boxes in “Word Options > View > Always show these formatting marks on the screen” (or any other similar option in other advanced word processors). It is advisable to see them when cleaning the file.
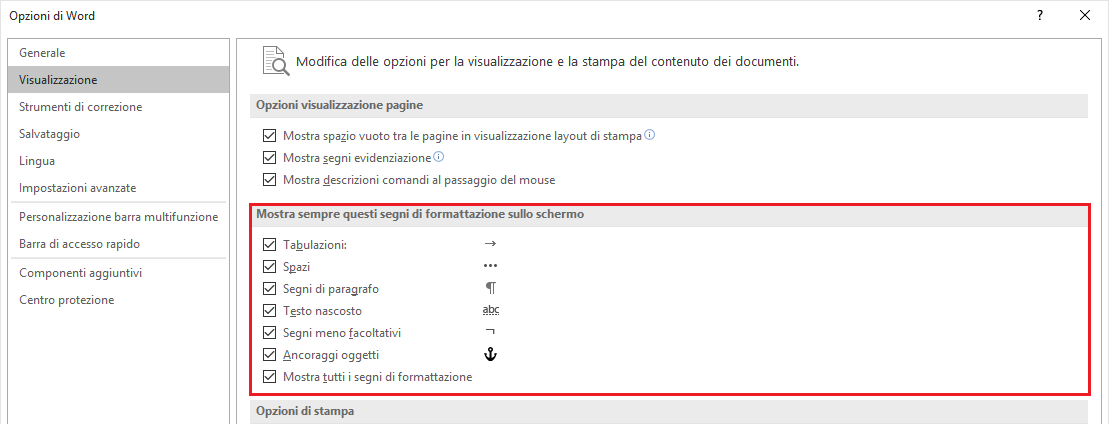
Fig. 9
9. Now we can go on “cleaning” all other unwanted stuff of the file.
If you go back to Fig. 8, you will see that EACH SINGLE PARAGRAPH (and with paragraph I mean one or more lines closed by the end-of-paragraph mark ¶) starts with a series of white spaces (dots) and we want to eliminate them. It is very simple.
To remove the first line initial unwanted initial spaces and the <seg> tag in the first line, manually select them and then press “Canc”.
10. Now open the “Find and Replace” dialog clicking on the “Replace” button on the “Home” ribbon (or using the suggested keys combination to open it), UNCHECK the “Use Wildcards” box, in the “Find:” field type ^p^w (i.e. end-of-paragraph mark [ ¶ ] and all white initial spaces of the subsequent line up to the < character), in the “Replace with:” field type ^p to maintain the end-of-paragraph mark [ ¶ ] and, finally, click on “Replace All”:
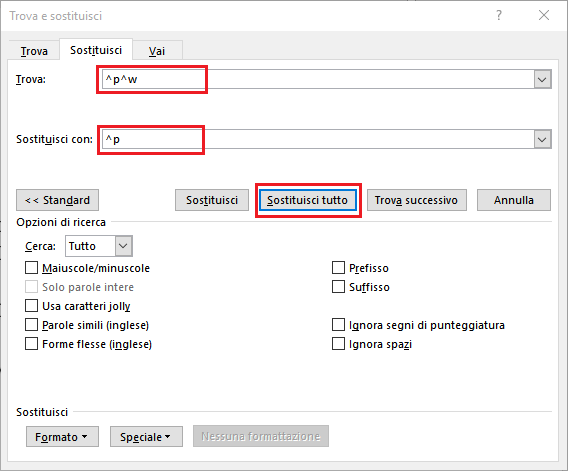
Fig. 10
All initial white spaces have been removed in the whole document.
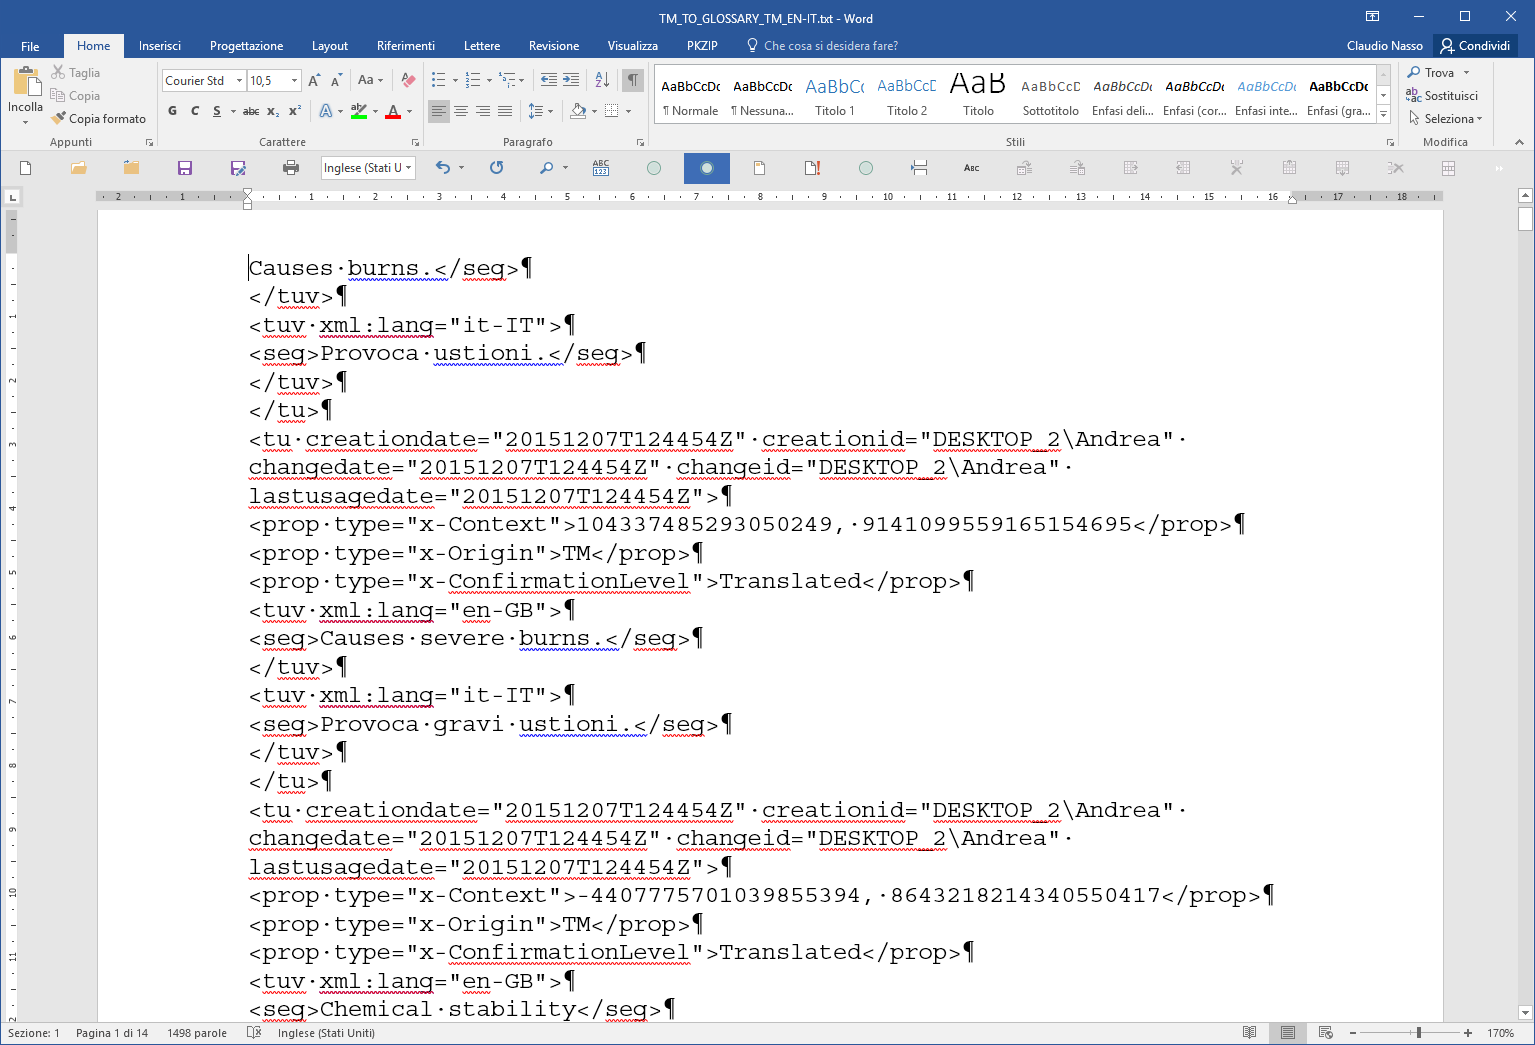
Fig. 11
11. Now we will delete all the text included between </seg> closing tag and the next <seg> tag of the document.
Reopen the “Find and replace” dialog, if you have closed it, CHECK AGAIN the “Use Wildcards” box, in the “Find:” field type \</seg>*\<seg?, in the “Replace with:” field type ^p and click again on “Replace All”:
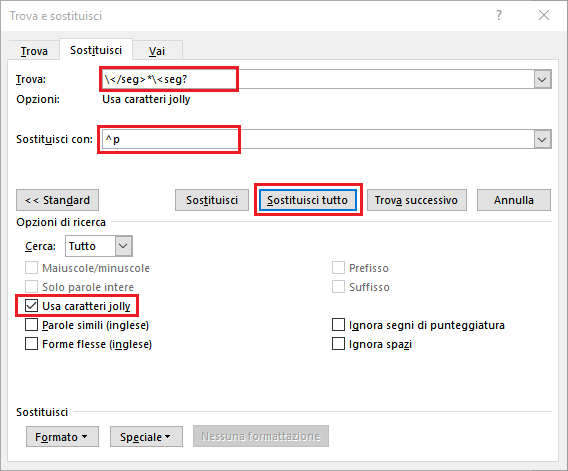
Fig. 12
Now your document should be similar to this one: almost done with MS Word
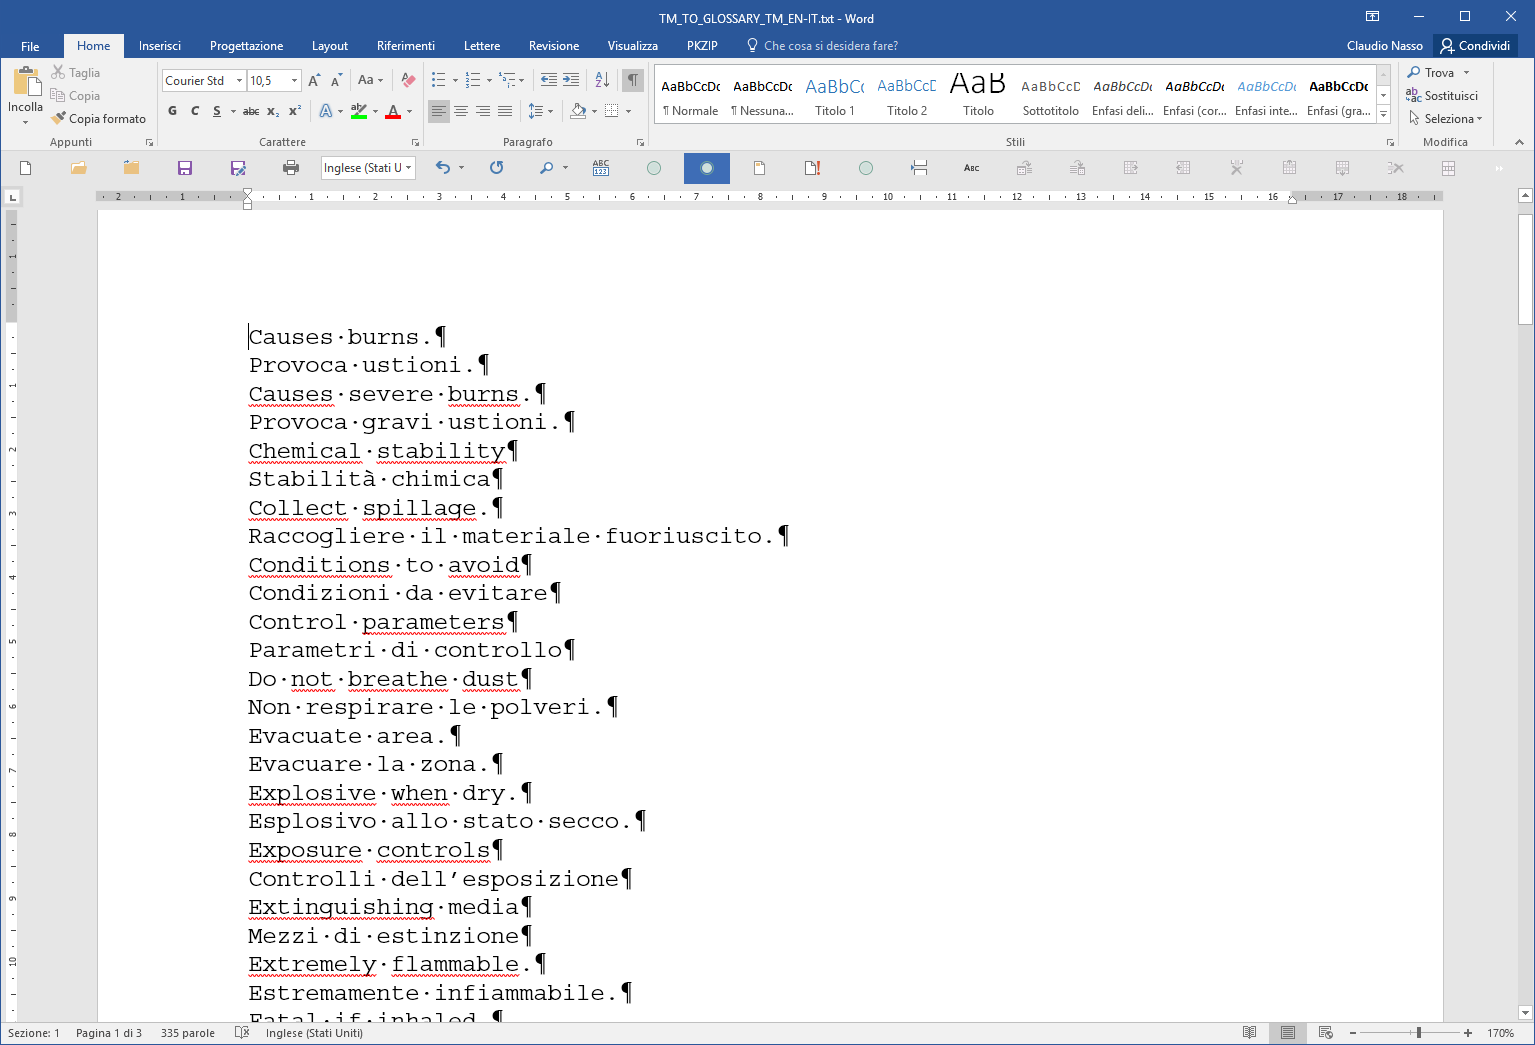
Fig. 13
12. Press Ctr+End to reach the end of document, where there are still some closing tags (e.g. </seg>, </tuv>, </tu>, </body> and </tmx> that you may manually select and delete to obtain a real “clean” final file.
13. As we have worked using MS Word, and as the document is still open, we can easily create a two column document (left column = source language, right column = target language) that we will use to copy and paste it in a MS Excel spreadsheet to create the final termbase.
Select all the cleaned final text (Ctrl+A) and activate the command “Insert > Table > Convert Text to Table” to open the corresponding dialog:
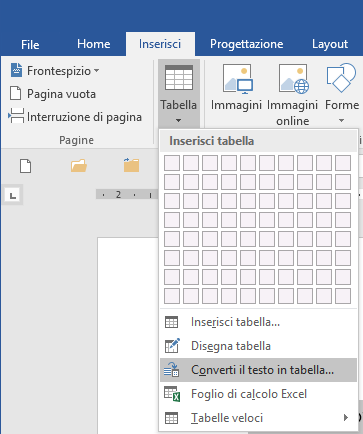
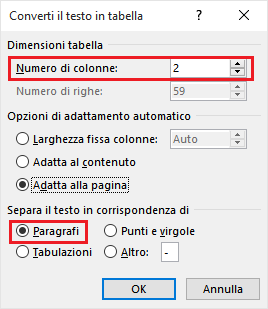
Fig. 14
In “Convert Text to Table” dialog, set the “Number of columns” field to “2” and activate the option “Paragraphs” (as we have a bilingual file with the source text in a single line and the corresponding target text in the following line). You will obtain a two column document (left column = source; right column = target) similar to this.
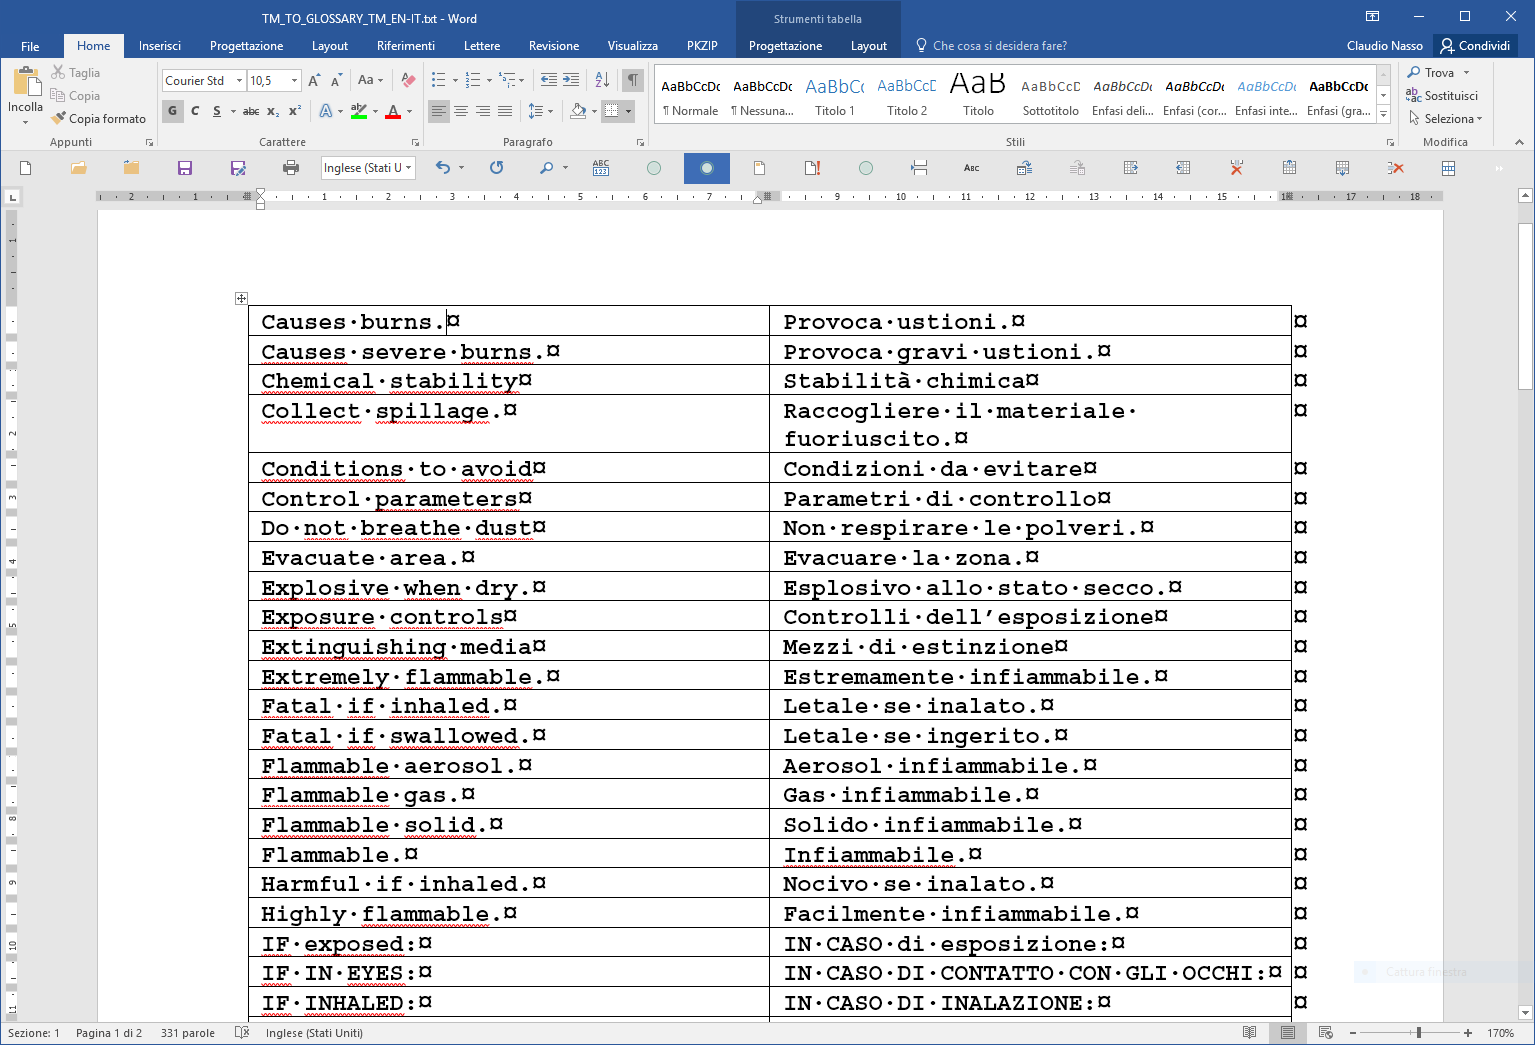
Fig. 15
Now, if you want, you may select any single column to set the correct source and target languages, select the whole table to apply a different font and size (e.g. Arial, 10 pt.) and to delete all cell borders.
14. Save the final MS Word document as DOCX file. It will be used to create a MS Excel document from which generate the glossary final file.
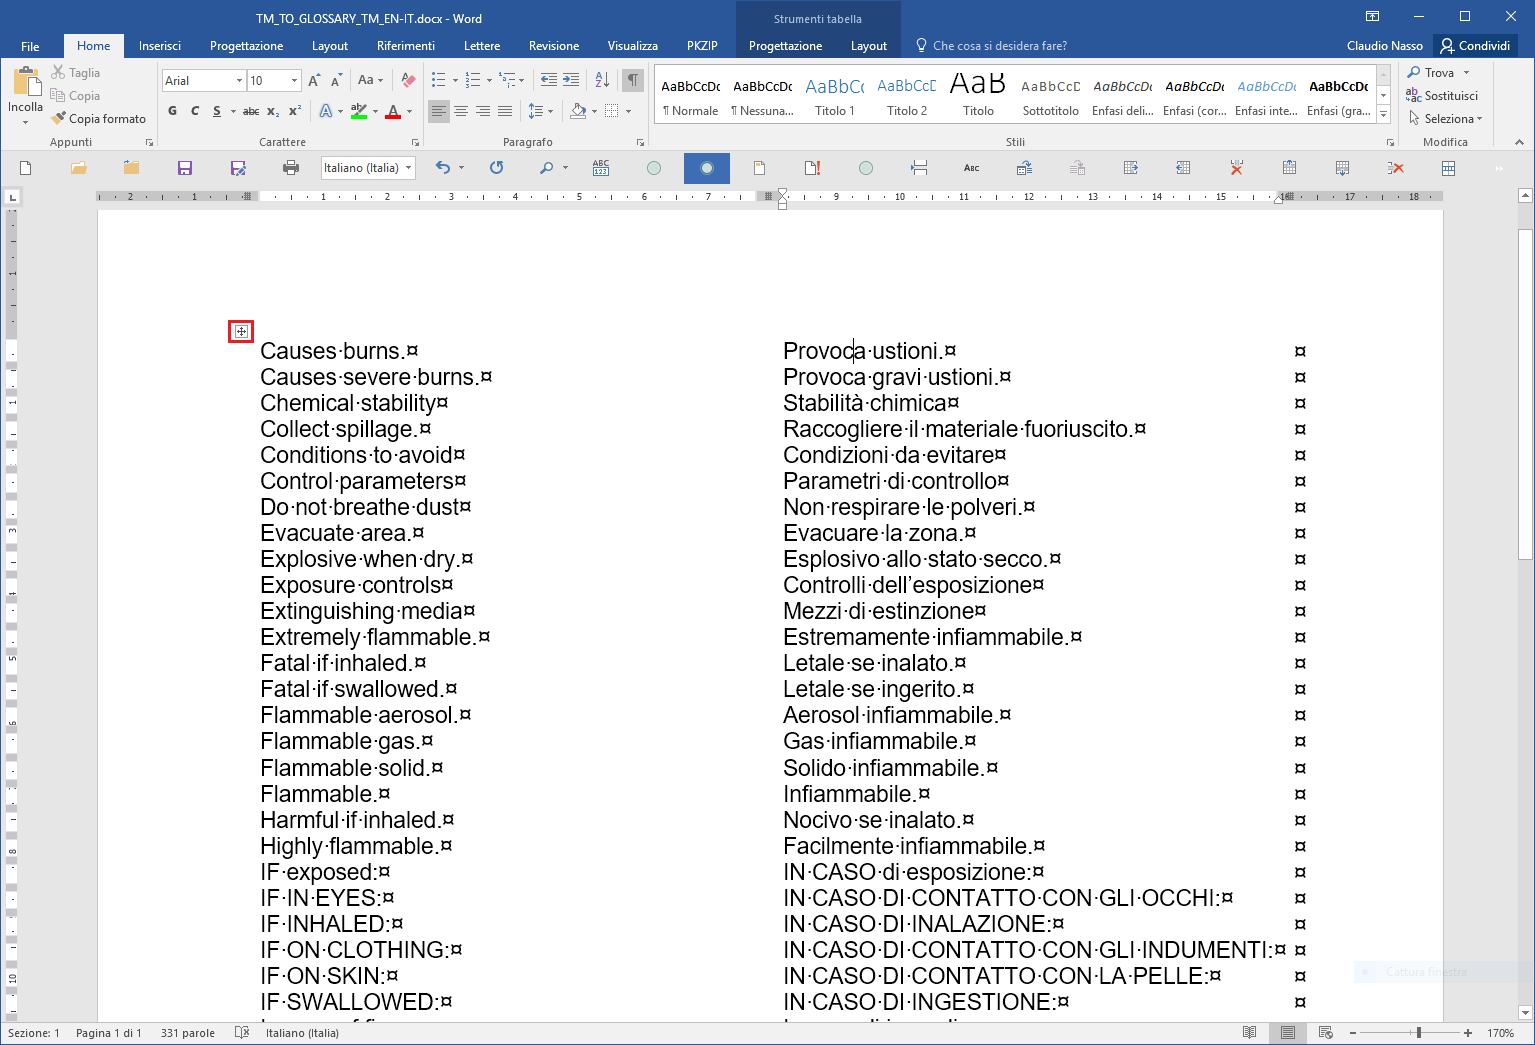
Fig. 16
Note: Obviously, this procedure can be “packed” in a macro to execute all these tasks with a single click and to use it for processing other documents of the same type.
15. Click on the table selector (in red in Fig. 16) to select the entire table and copy it (Ctrl+C) to the Clipboard.
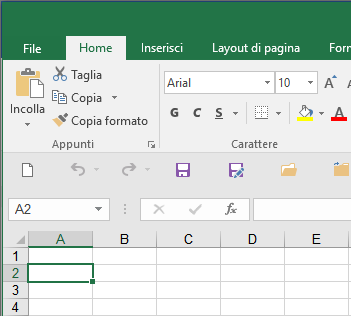
16. Open a blank MS Excel (or any other spreadsheet application) document, select the cell “A2”,
Fig, 17
paste (Ctrl+V) the previously copied table from the Clipboard, and adjust the column width to obtain:
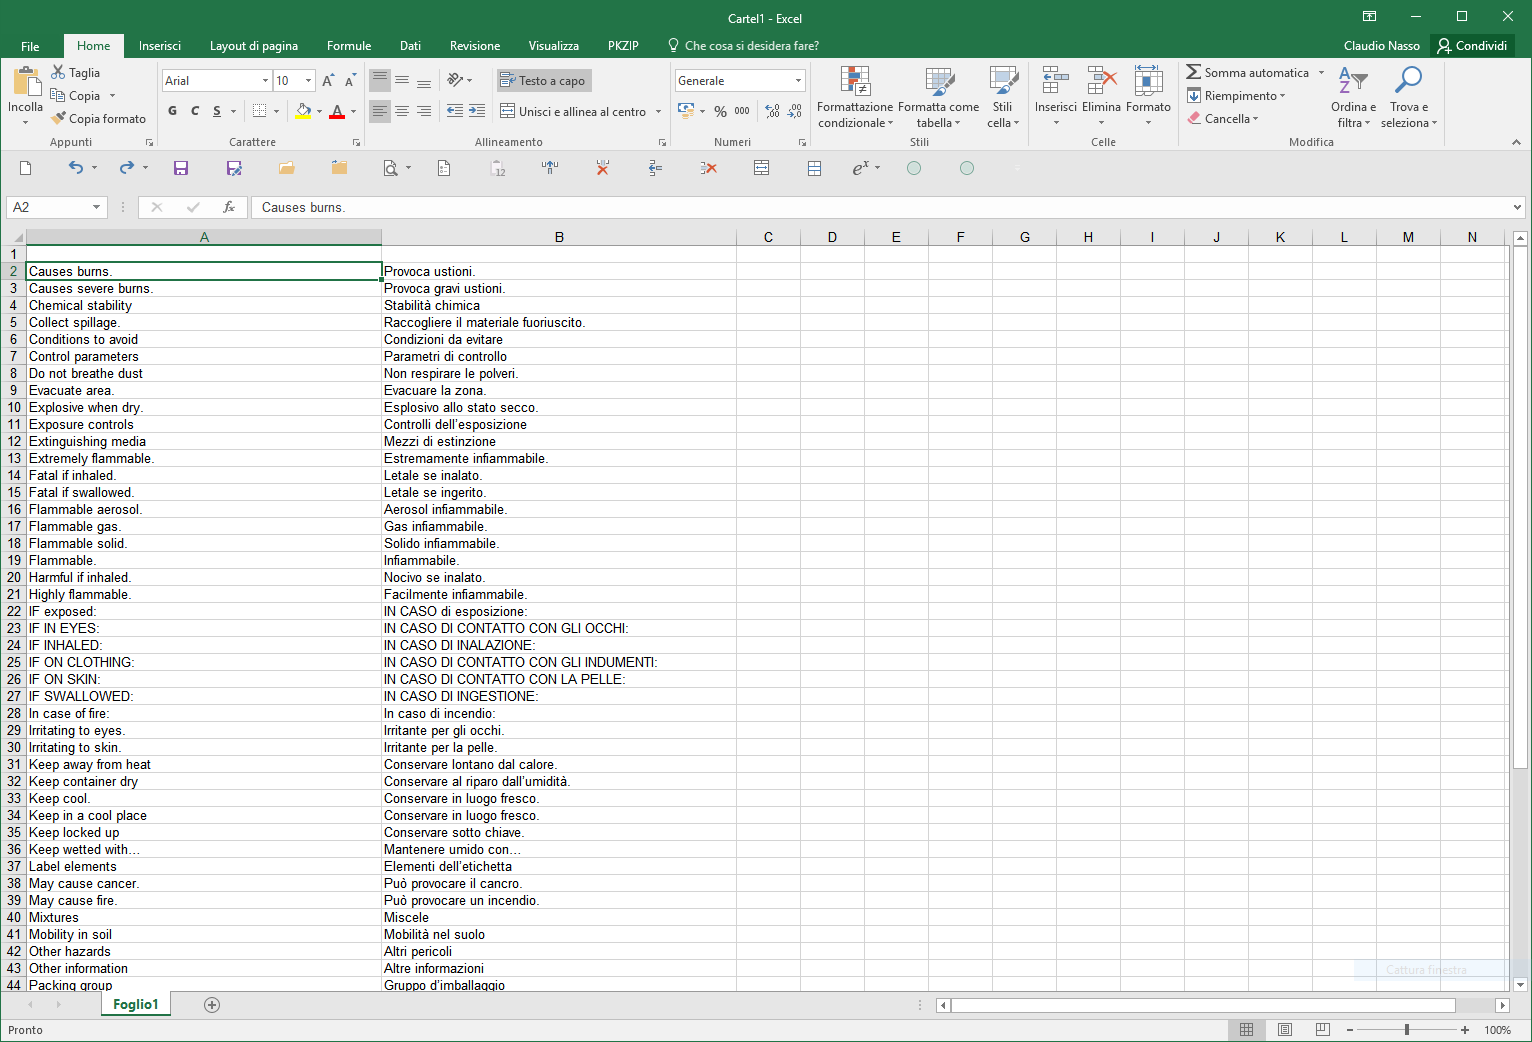
Fig. 18
17. Click on cell “A1”, type in the source language name (e.g. English), and press “Enter” to confirm.
18. Click on cell “B1”, type in the target language name (e.g. Italiano), and press “Enter” to confirm.
The final result should be similar to this one:
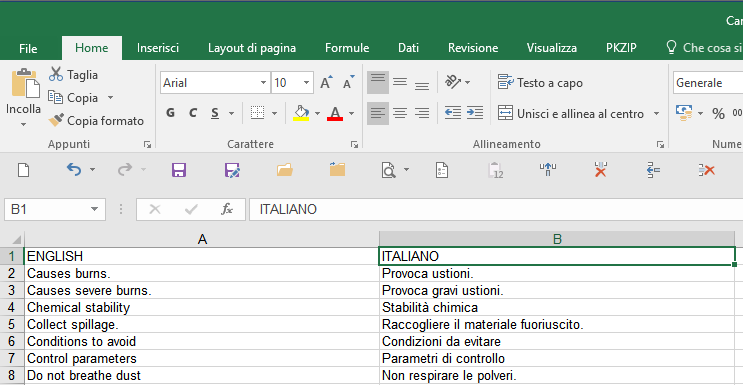
Fig. 19
Note: This last step, even if not essential, will be useful when importing the MX Excel file in SDL Convert and then in MultiTerm (or when using the “Glossary Converter” application) as cells “A1” and “B1” will be considered as column headers to process the file during its conversion to a glossary.
19. Save the file as an Excel (*.xlsx) file. Now you are ready to use SDL Convert and SDL MultiTerm (or the “Glossary Converter” application available in SDL OpenExchange) to generate a proper and final glossary to use with SDL Studio.
Conclusions
Even if all this seems complex, it does not require any particular skill, but only a medium level of attention, in particular when using the “Find and Replace” Regex functions in MS Word.
I have proposed a TM containing just short segments, but you may apply this procedure to any kind of TM to convert it to a glossary (if ever it should have a sense to do it).
Note: If you have a TM containing short and long segments, remember that in MS Excel there is the function “LENGTH”
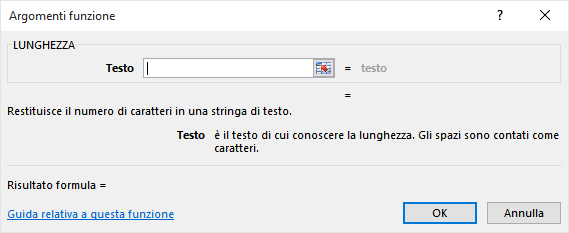
Fig. 20
that allows you to count the number of characters in a cell. Then you will be able to sort all cells by their length. This will allow to delete from a sheet all rows containing segments longer than a “decent” length before converting the document to a glossary file.
If you do not have a TM file (*.sdltm) to test this procedure, feel free to contact me and I will send you the sample original TM (English > Italian) I have used to describe this procedure, and feel free to contact me if you need further explanations.
I hope this might help you when you need to convert a TM to a glossary (termbase).
Claudio