


Hi to all,
suppose that you have received from a client an original MS Word file (say, in English) and its approved and “unquestionable” MS Word translated file (say, in Italian), and that you have been requested to create a brand-new TM from these two documents.
Of course, you may use the SDL “Align” procedure, but if you do not want to use and involve it at all, here I propose a procedure to get the required result.
Foreword
The MS Word and MS Excel screenshots shown here use the Italian UI, but this should not be a problem as I have translated the pertinent commands into English, and you can find them in the same position on different languages UIs.
In this example I used MS Office, but it should also work with any other advanced word processor or spreadsheet application.
The whole procedure seems (but it is not) eternal and tricky, but if you try it you will discover that it will not take a lot of time and it is not so complex as it seems.
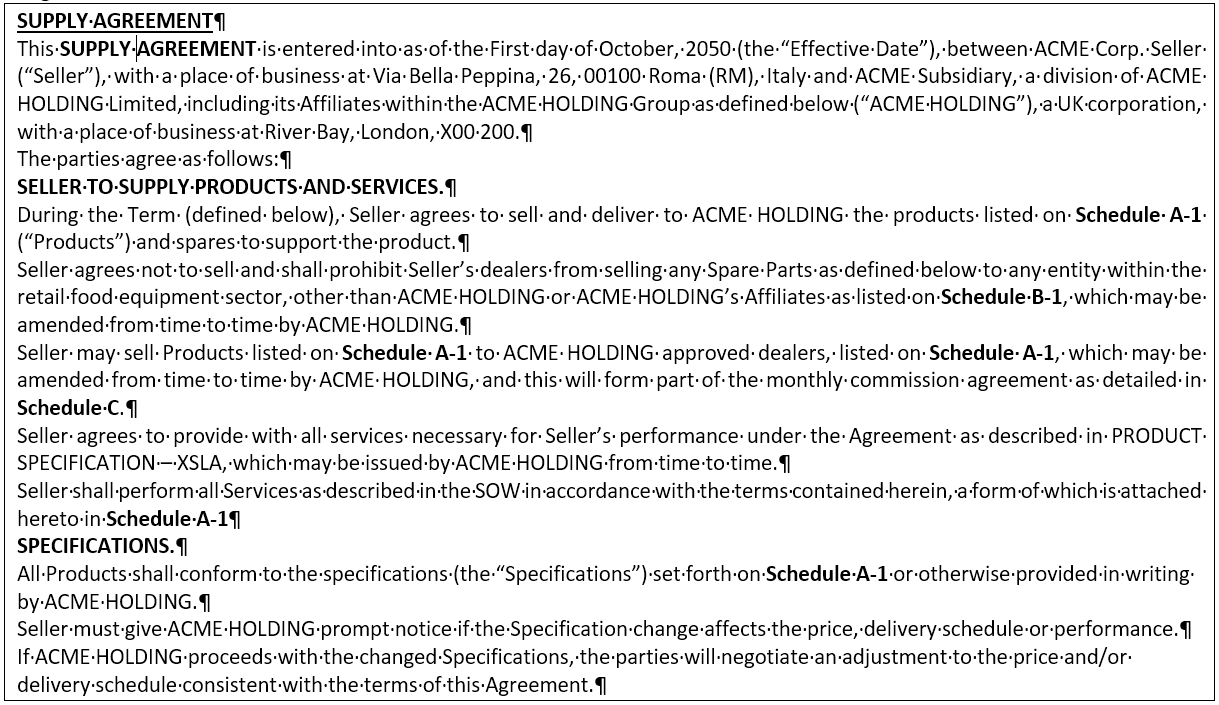
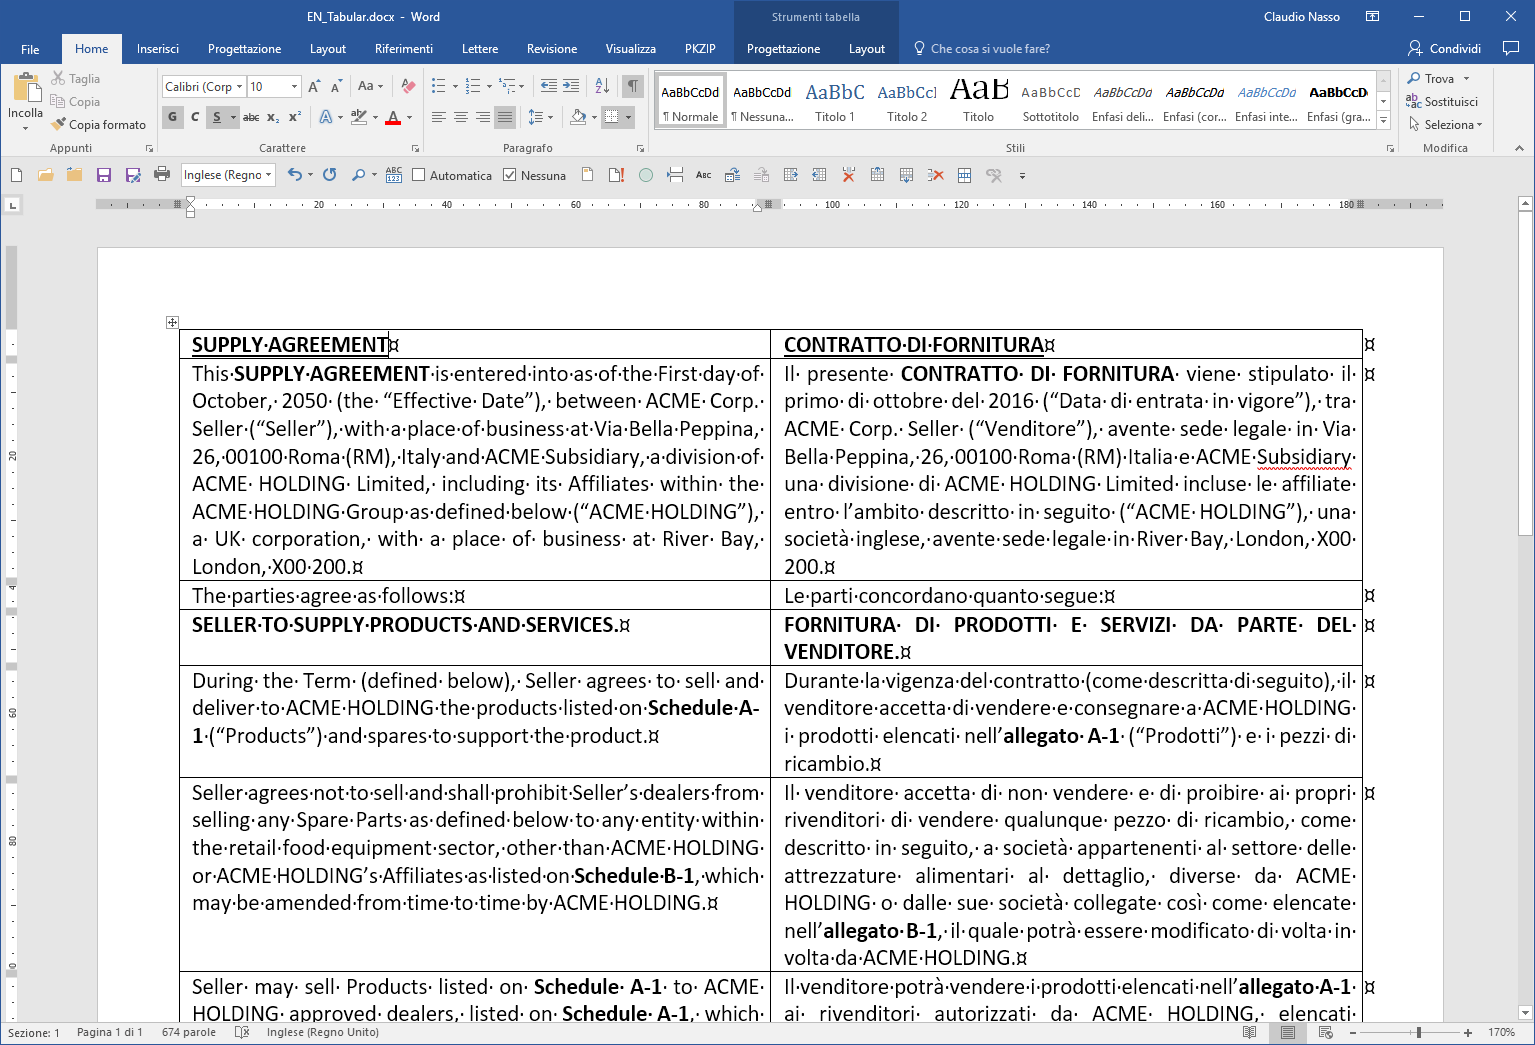
In this example I used an excerpt of a source “Supply Agreement” and its translation into Italian, “Contratto di fornitura” as they were received from the client.
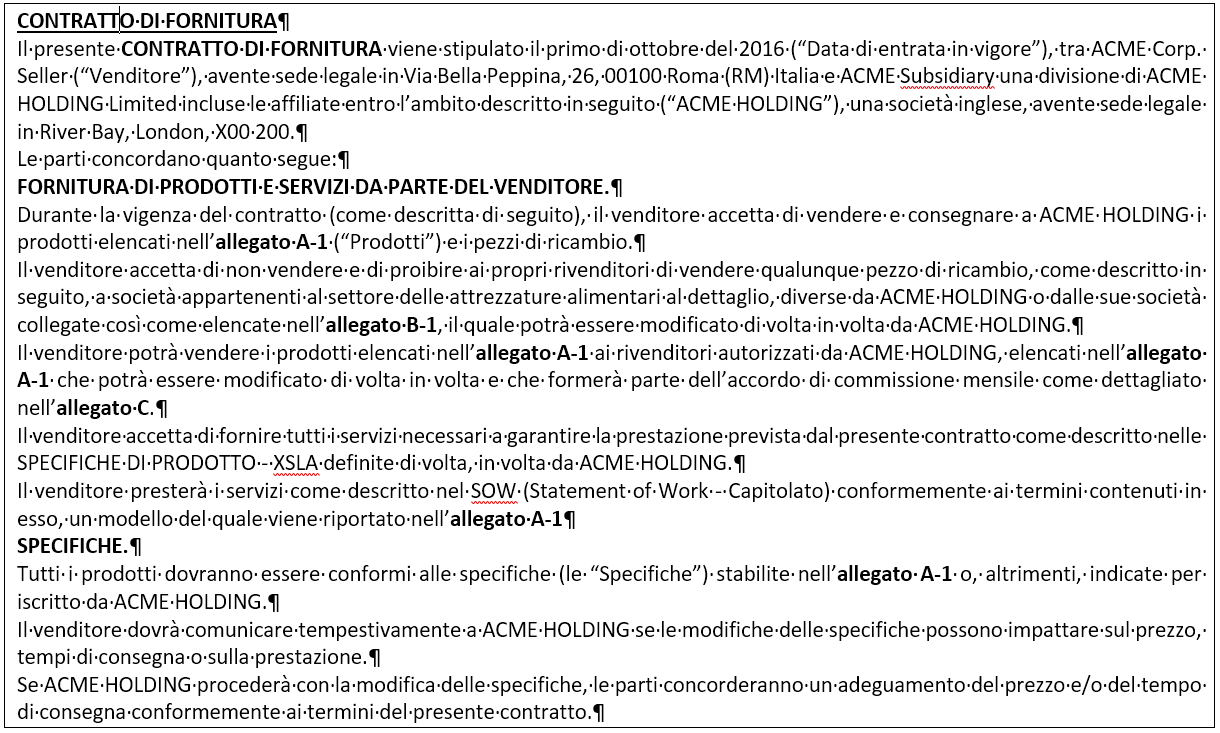
And its “unquestionable” translation into Italian
As said before, granted that the translation has been approved and that it is “unquestionable” you are not allowed to modify it in any way. The only task required is to “create a brand-new TM”!
So, you may start!
Creating a tabular (two columns) layout in MS Word
As we have two separate MS Word documents, the first thing is to create a new MS Word tabular layout, with the source text in the left column and the target text in the right column.
To do this, you must load the source original MS Word document and convert the text to a table.
- Select all the text to convert to a table and run the command Insert > Table > Convert text to Table and in the subsequent dialog Convert text to table, define 1 Column in Size of Table, and check the option Paragraph in the section Separate text at.
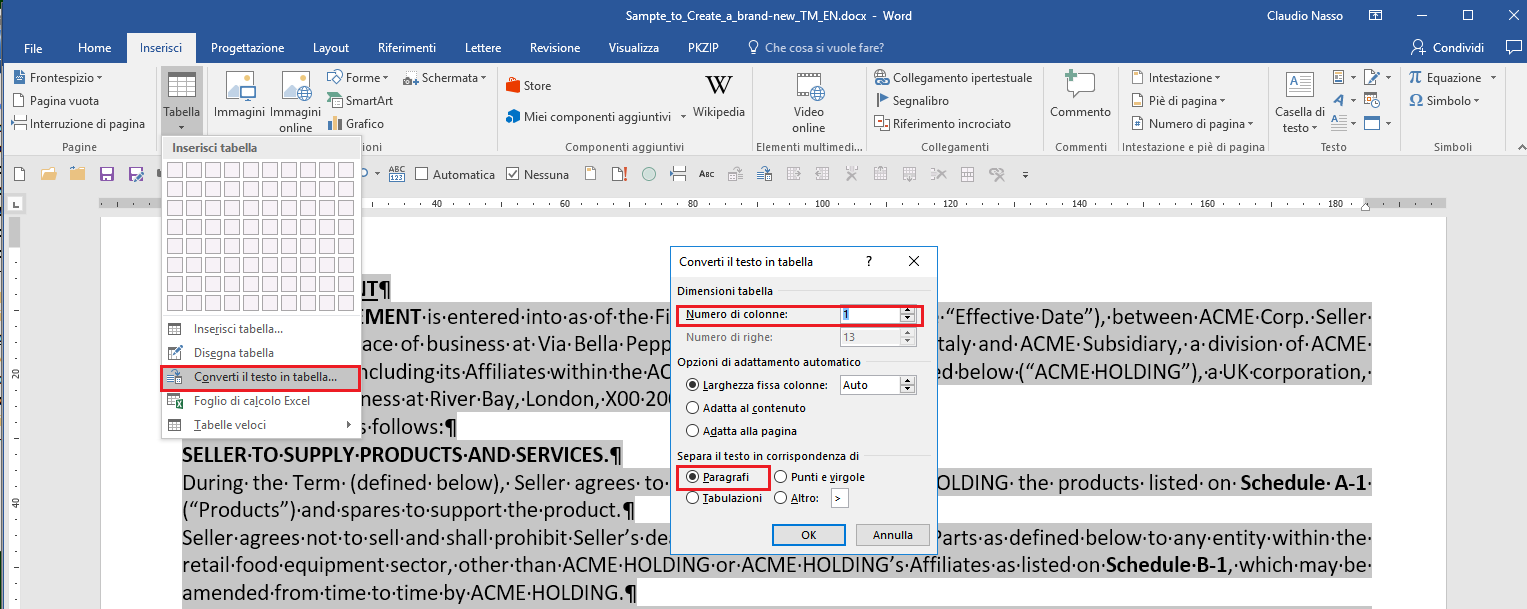
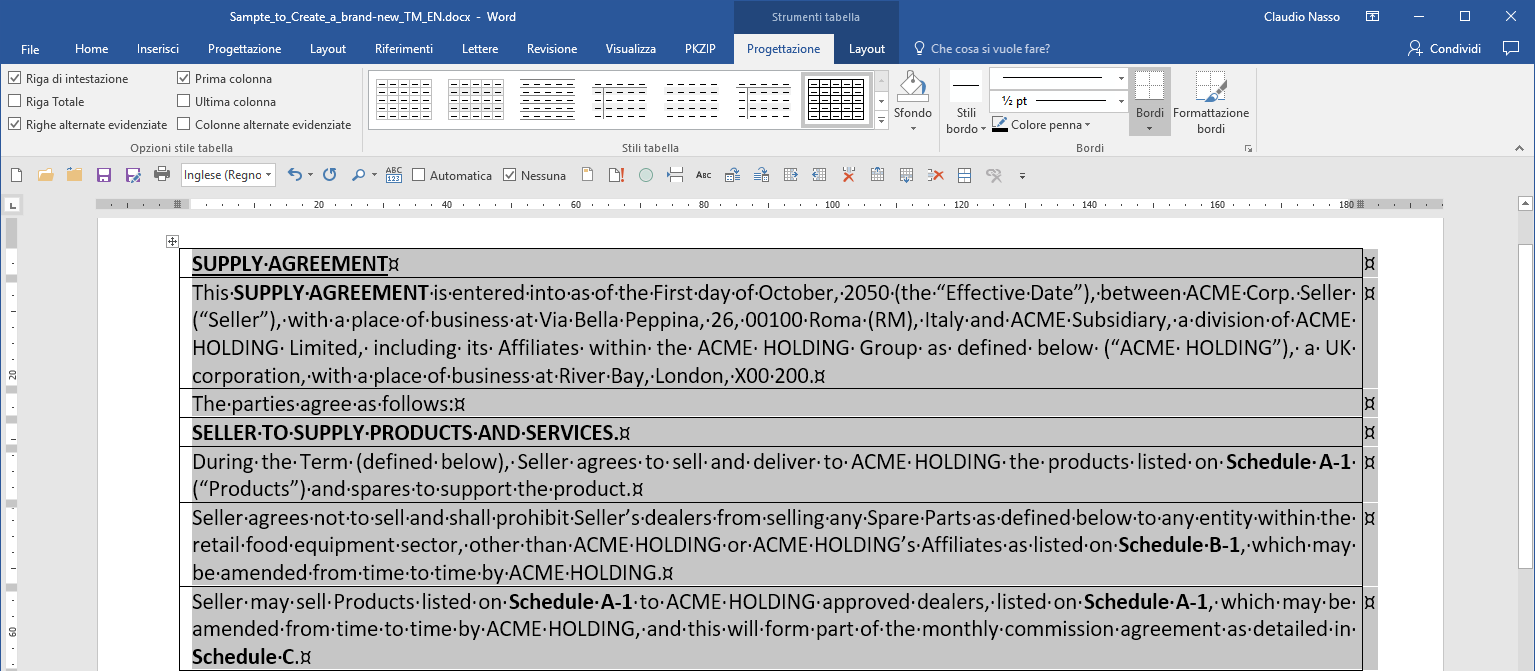
When we click on OK, we obtain:
- Save the file with a new name (e.g. docx).
- Repeat this same procedure using the target translated text and save it with a new name (e.g. docx). At this point we will have two different MS Word tabular files (EN_Tabular.docx and IT_Tabular.docx.
- Open, or switch (ALT+TAB), to the target translated tabular file previously saved (docx), click on it and run the command Table tools > Layout > Select > Select column to select only the content of the target text column:
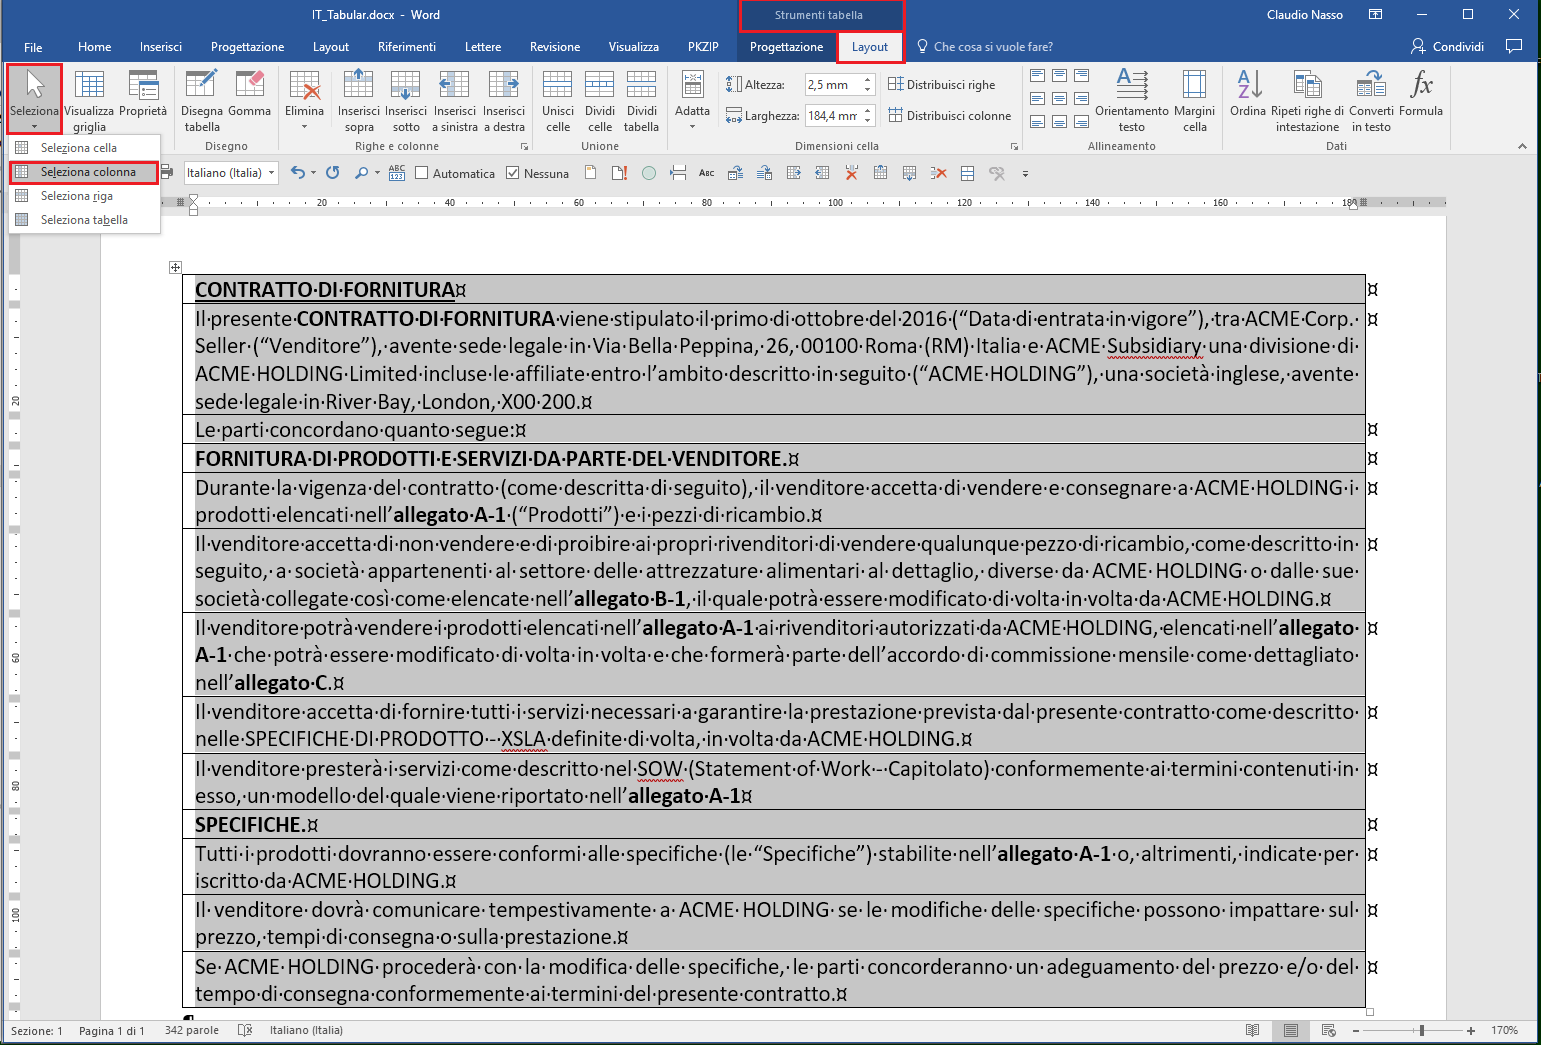
and copy it (Home > Copy, or CTRL+C) in the Clipboard.
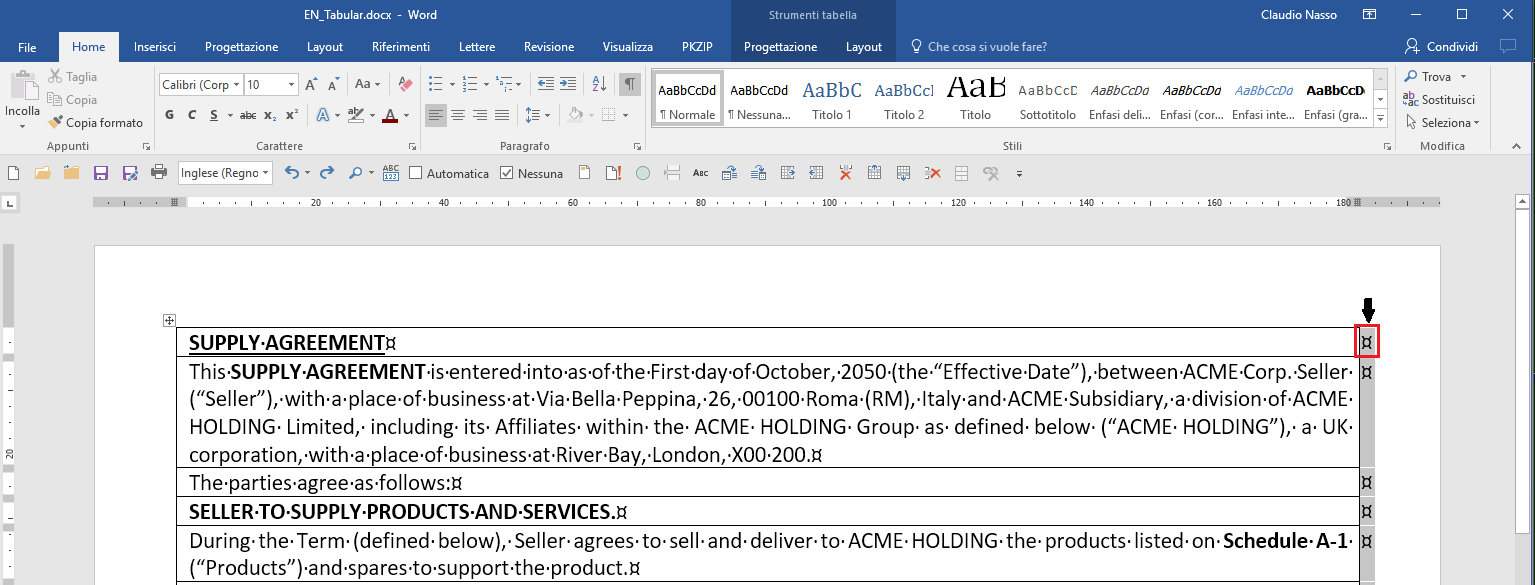
- Open, or switch (ALT+TAB), to the source tabular file (docx) and move the mouse pointer just above the first end-of-line mark (¤) until it assumes the form of a small bold down-arrow to select all the end-of-line marks below:
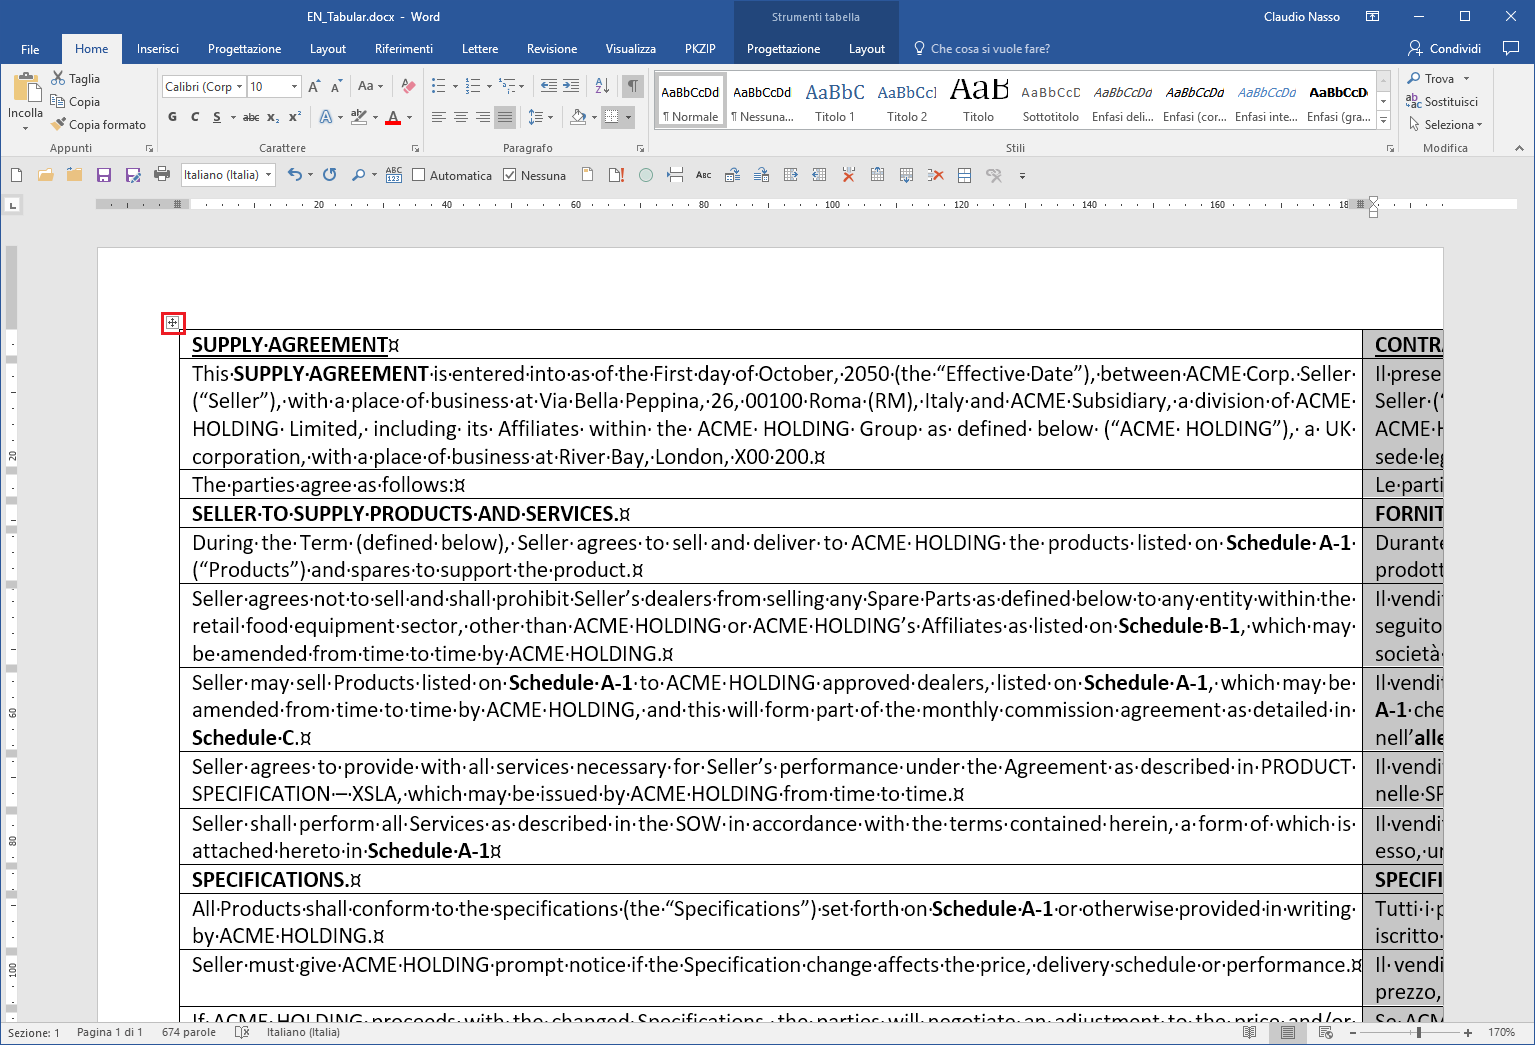
- Paste (Home > Paste, or CTRL+V) the content previously copied in the Clipboard to obtain:
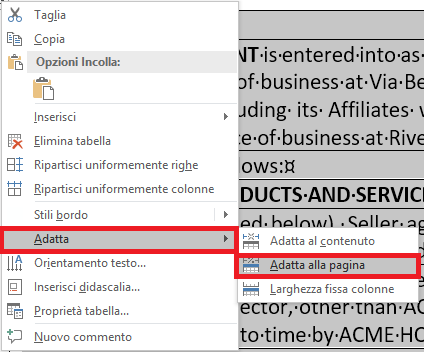
- Right-click on the top left “Table icon” (marked in red in Fig. 7) and select the command Fit > Fit to page to adapt the entire table width to the page.
- Save the file with a new name, e.g. EN-IT_Tabular.docx.
Converting the tabular MS Word DOCX file to a tab-delimited TXT file
Now we should convert the MS Word file EN-IT_Tabular.docx to a tab-delimited text file to import in MS Excel.
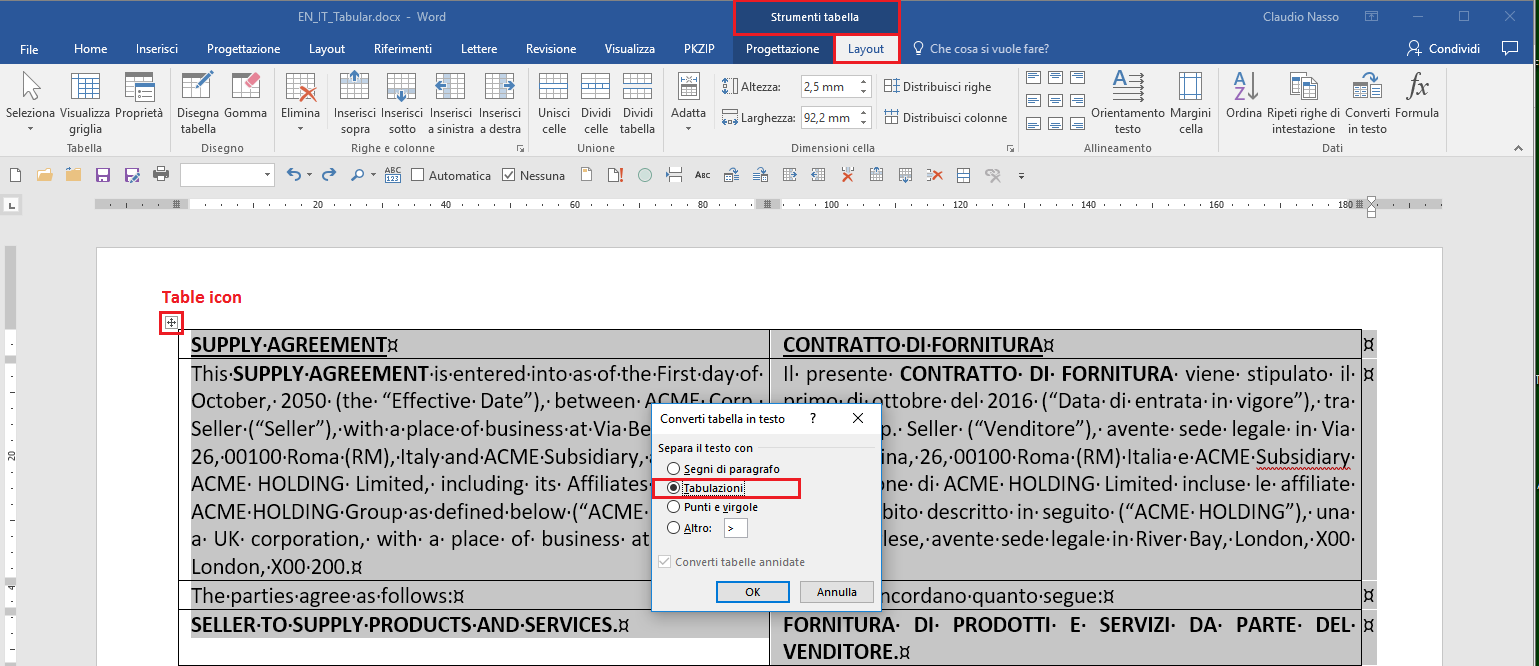
- Select the entire table clicking on the top-left “Table icon” (marked in red in Fig. 10) and run the command Table Tools > Layout > Convert to Text to access the dialog Convert Table to Text: and check the option Tabs:
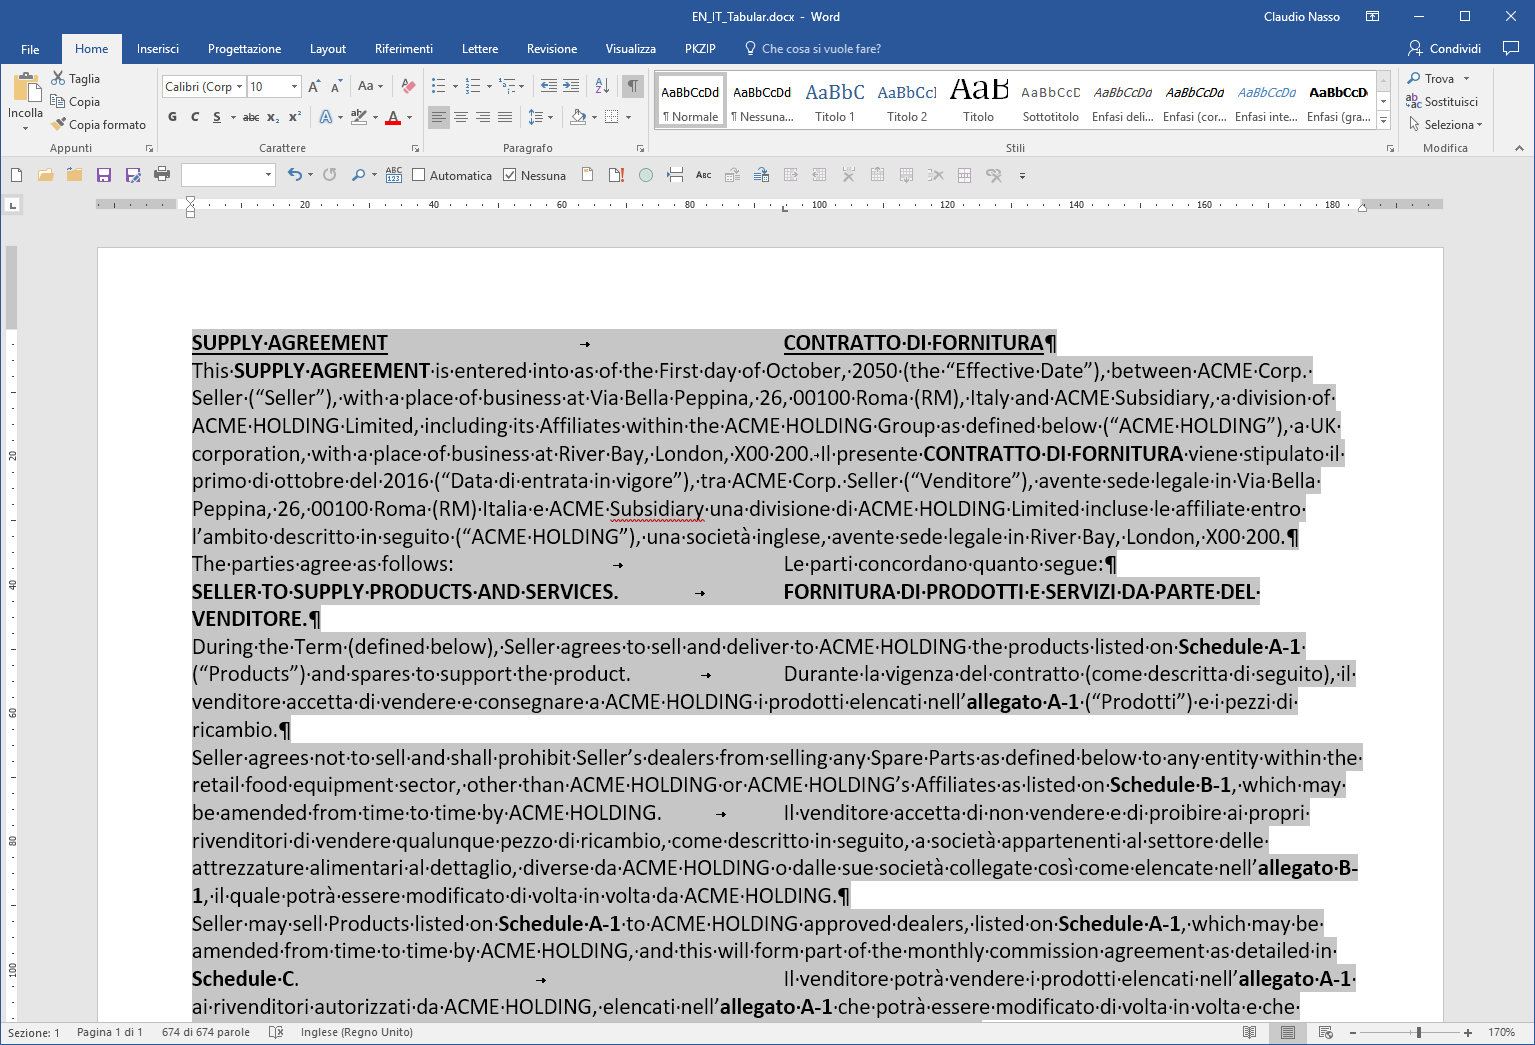
When clicking on OK we obtain:
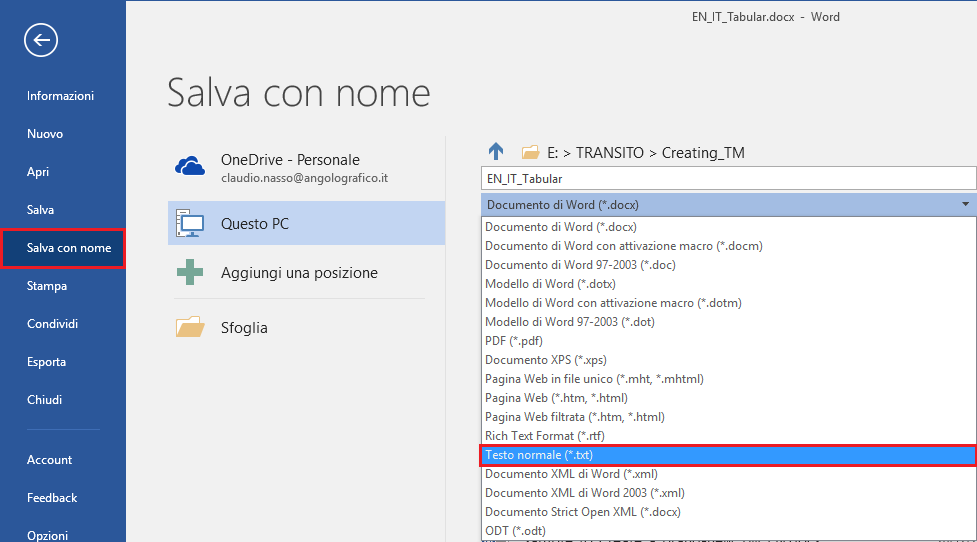
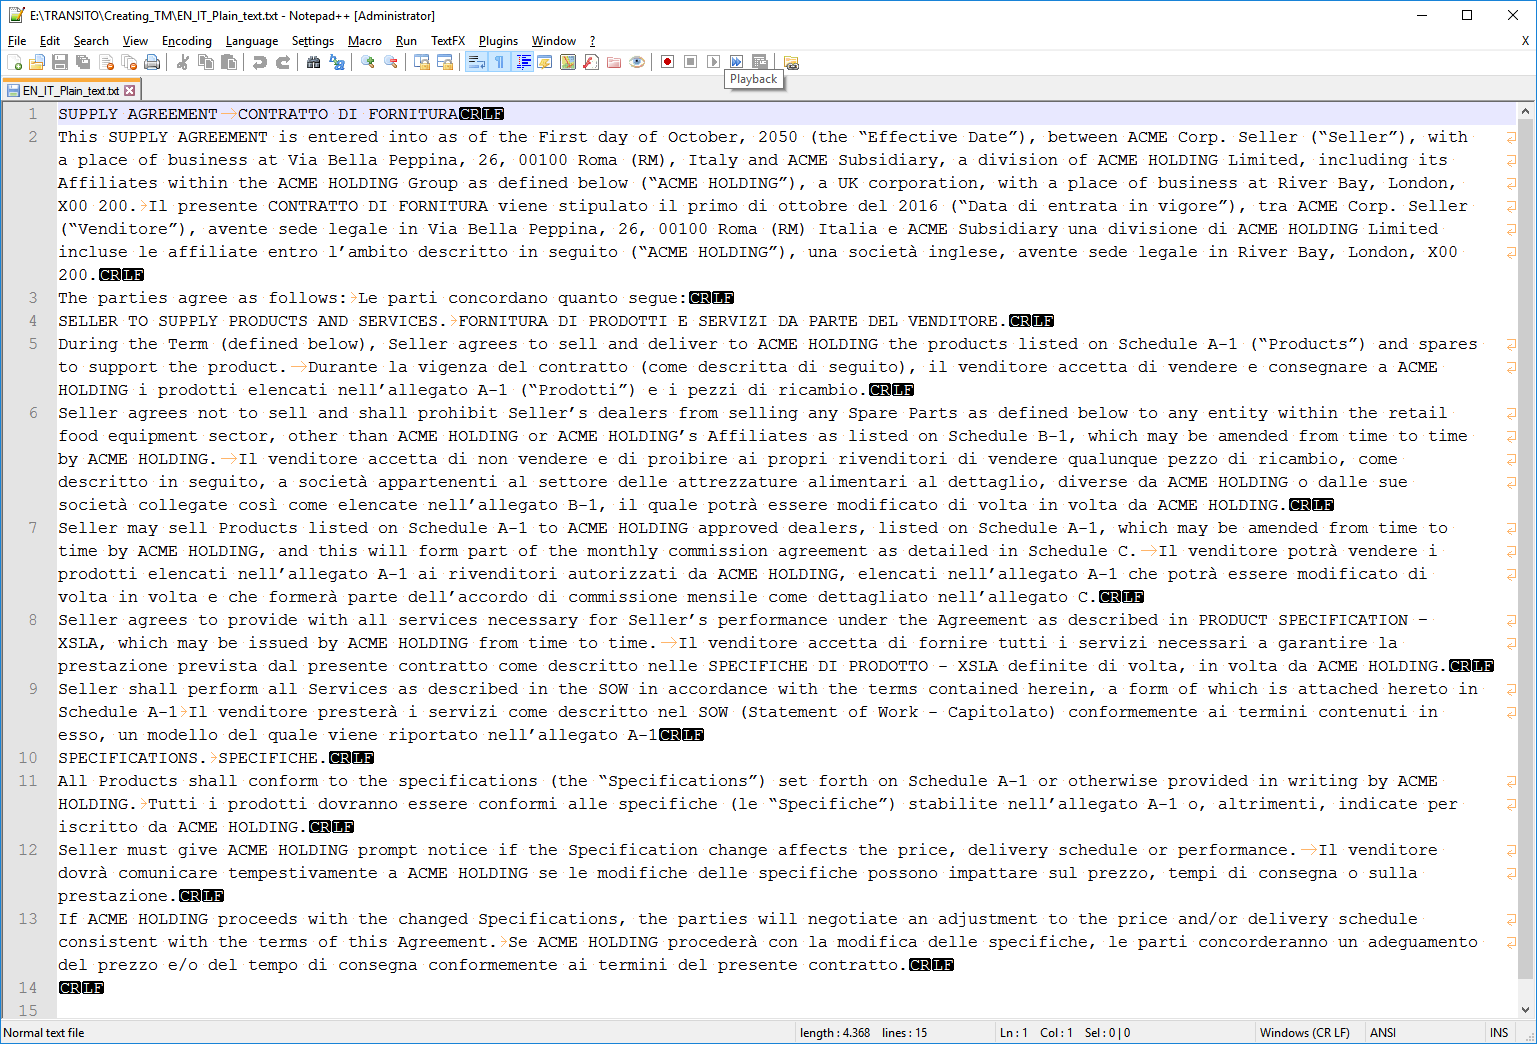
- Now we must save the file as a tab-delimited plain text (Note: text formatting as “bold”, “italic”, etc. will be lost). Run the command Save As and select the Plain Text (txt) option and assign a new name to the saved file (e.g. EN-IT_Plain_Text.txt):
and in the dialog which appears, apply the appropriate Text encoding.
- When you open again the plain text file (in MS Word or with a plain text editor) it should appear similar to this one:
Importing the tab-delimited plain TXT file in MS Excel
Now we will import the tab-delimited plain text file in a MS Excel worksheet.
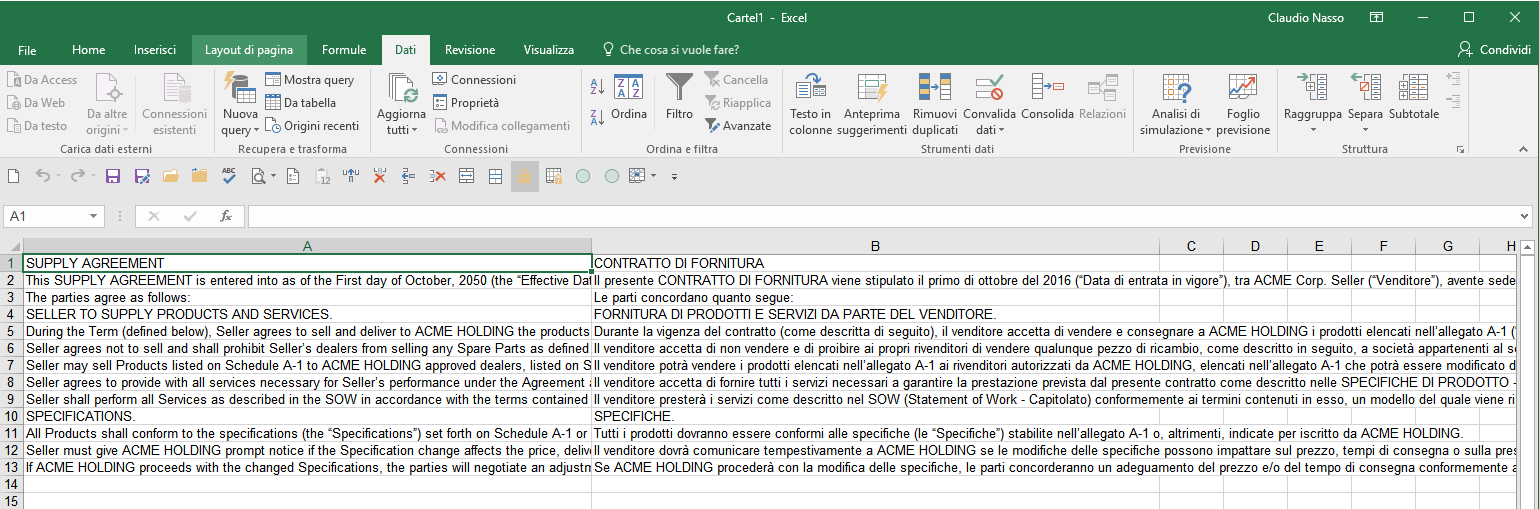
- Run the command Data > From Text and select the tab-delimited plain text previously saved (EN-IT_Plain_Text.txt) to access the import wizard dialogs (3).
- In the first dialog, in the section Choose the file type that best describes your data check the option Delimited; in the second one check the option Tabs; in the third one check the option General or Text, or the appropriate data format. When the wizard requests where starting to place imported data, accept the default position (i.e. Current worksheet, Cell A1) or define a different position.

When clicking on OK we should obtain a result similar to this one:
- Save the MS Excel file (e.g. EN-IT_Excel.xlsx), and, if needed, arrange columns and rows (not specifically required to import the MS Excel file in SDL Studio).
Importing the MS Excel file in SDL Studio
We are now ready to load the bilingual MS Excel file in SDL Studio (using the Bilingual Excel File Type).
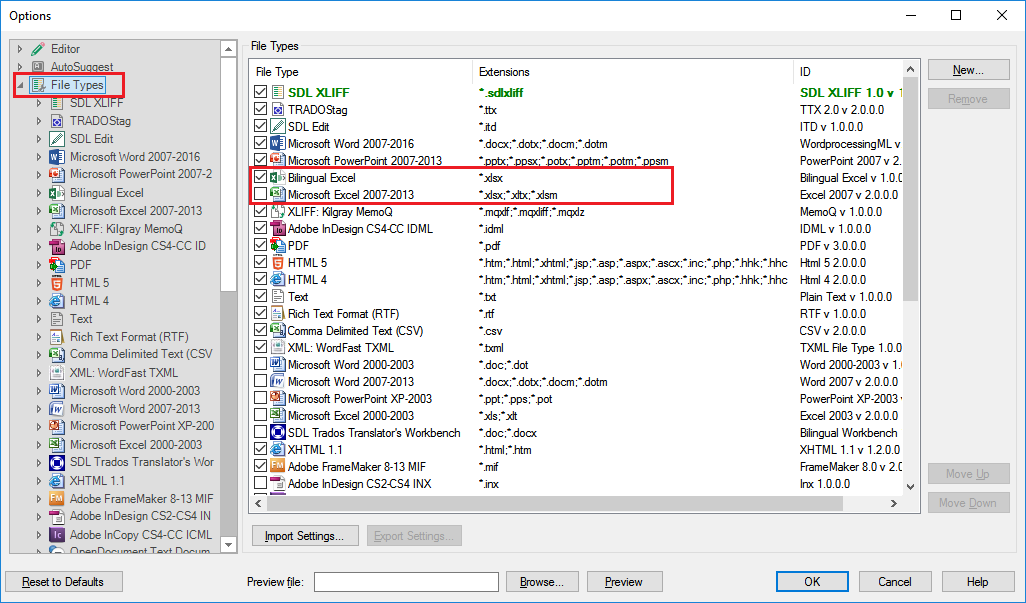
- First of all, run the command File > Options > File Types; in the right panel check the Bilingual Excel file type (available starting from SDL Studio 2015) and deselect (recommended) the other Microsoft Excel file types.
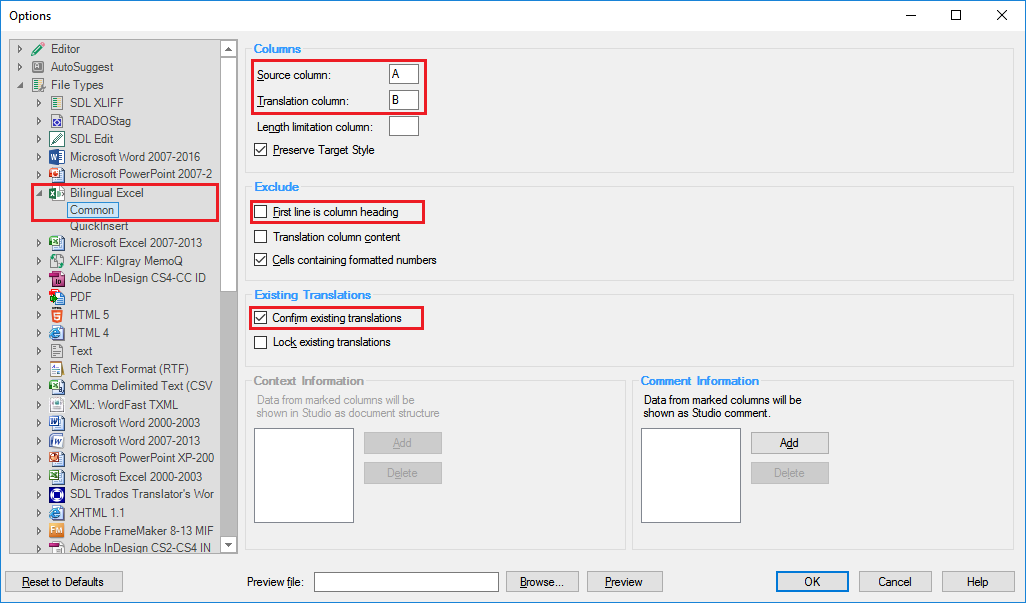
- Click on Bilingual Excel > Common item on the left panel to access the settings dialog. In Columns section insert the columns you want to import (Default: A and B) and check/uncheck other options as needed. In this example, uncheck the First line is column heading and check the Existing Translations > Confirm existing translations At the end, click on OK.
- Now load the Excel file as usual, as a single document file or as a file of a project, but without defining a Translation memory. You will get a result like this one:

- Check the result and save (CTRL+S) the file assigning a proper name to the one-file project to create the pertinent SDLXLIFF file.
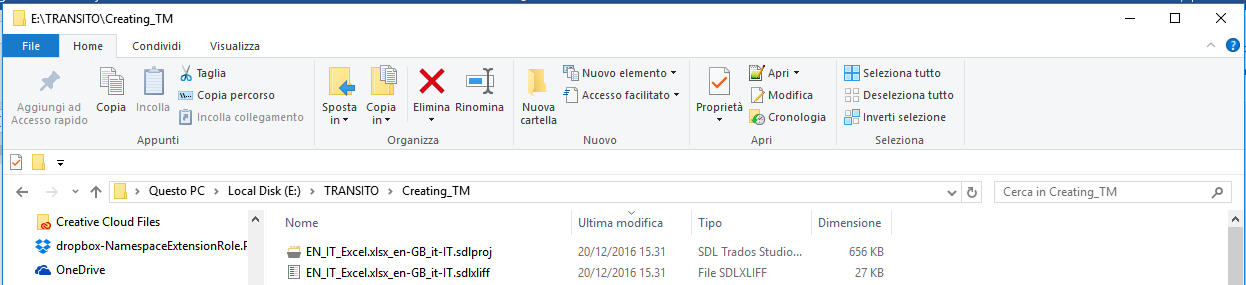
Now the folder where you have saved the file will contain a SDLXLIFF and a SDLPROJ file.
Final step: Generating the brand-new Translation memory
To create the final brand-new Translation memory we will use the SDLXLIFF file just saved.
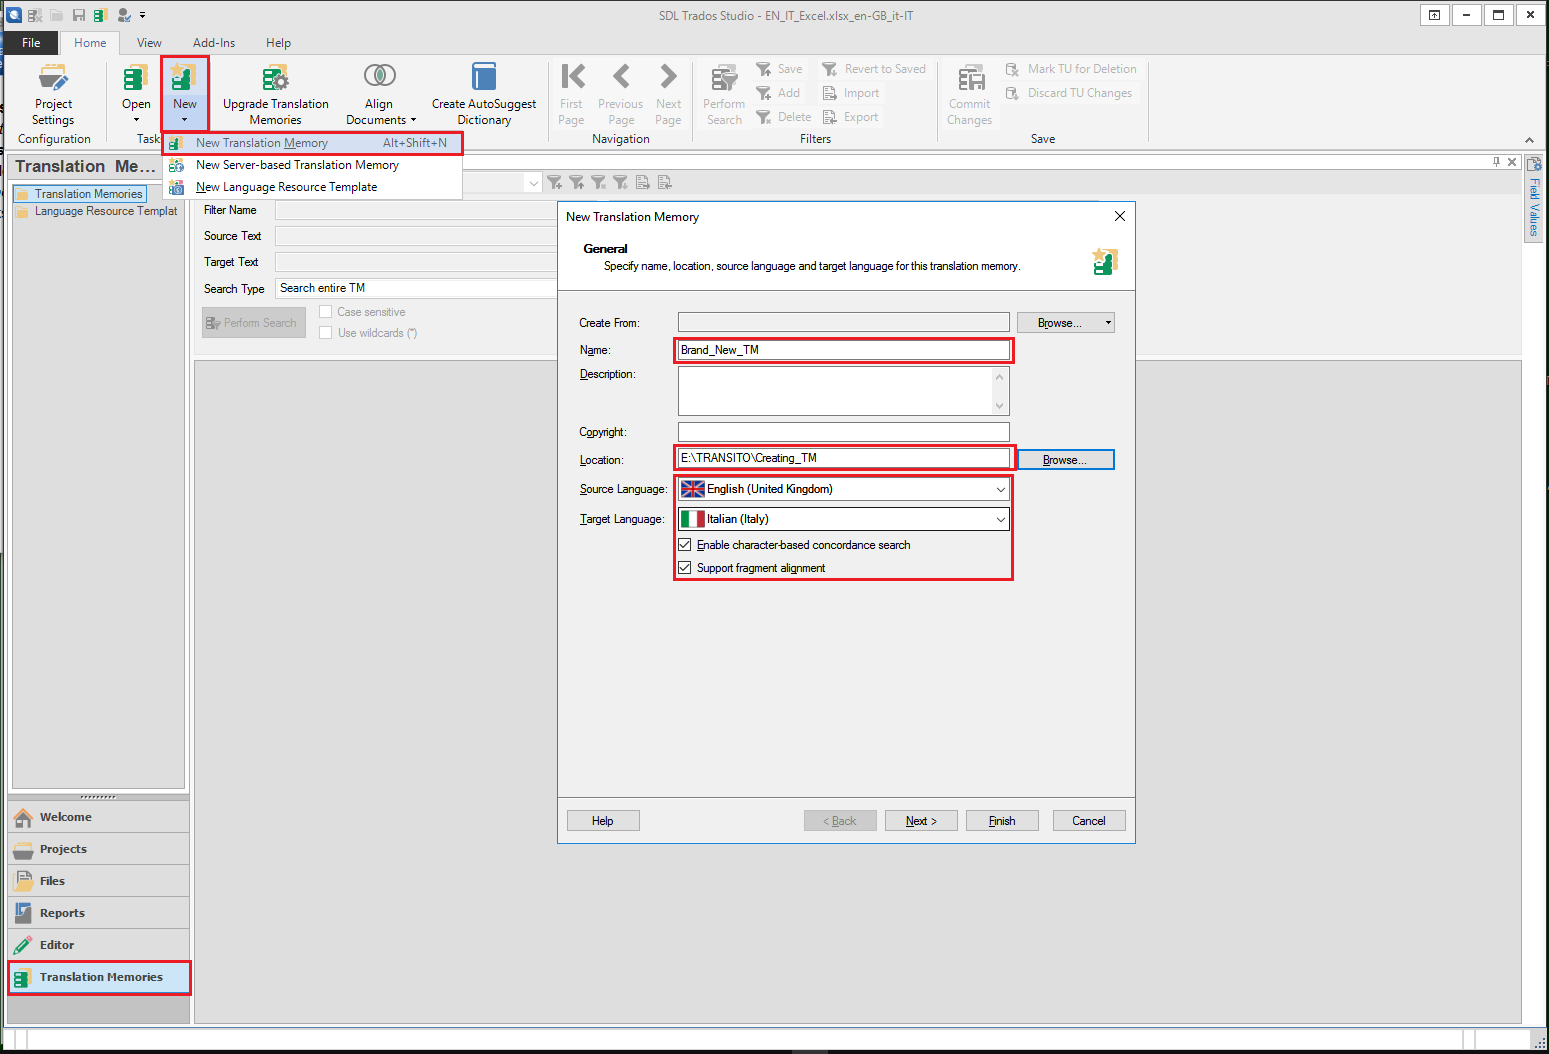
- Activate the Translation Memories view (last item on the left pane).
- Run the command New > New Translation Memory and in the dialog, give a name to the new TM, define the folder where to save it, languages and, if necessary, check options Enable character concordance search and Support fragment alignment (Studio 2017) and click on Next.
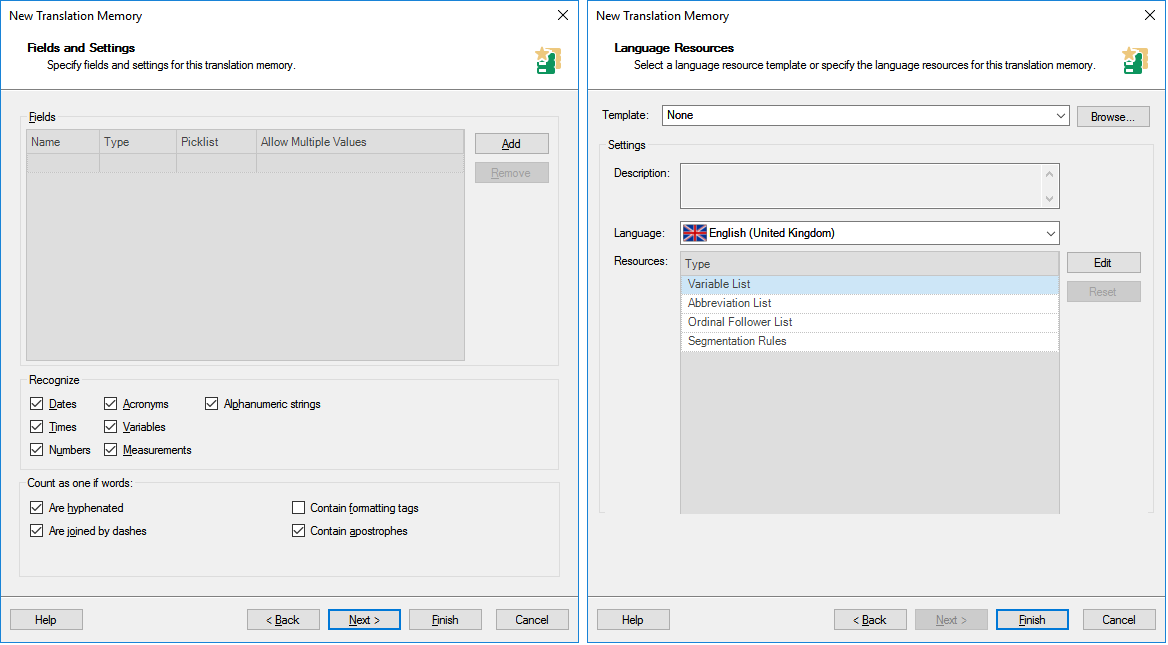
- In the second dialog check all options you need, and click on Next.
- In the third dialog check and set all options you need and click on Finish.
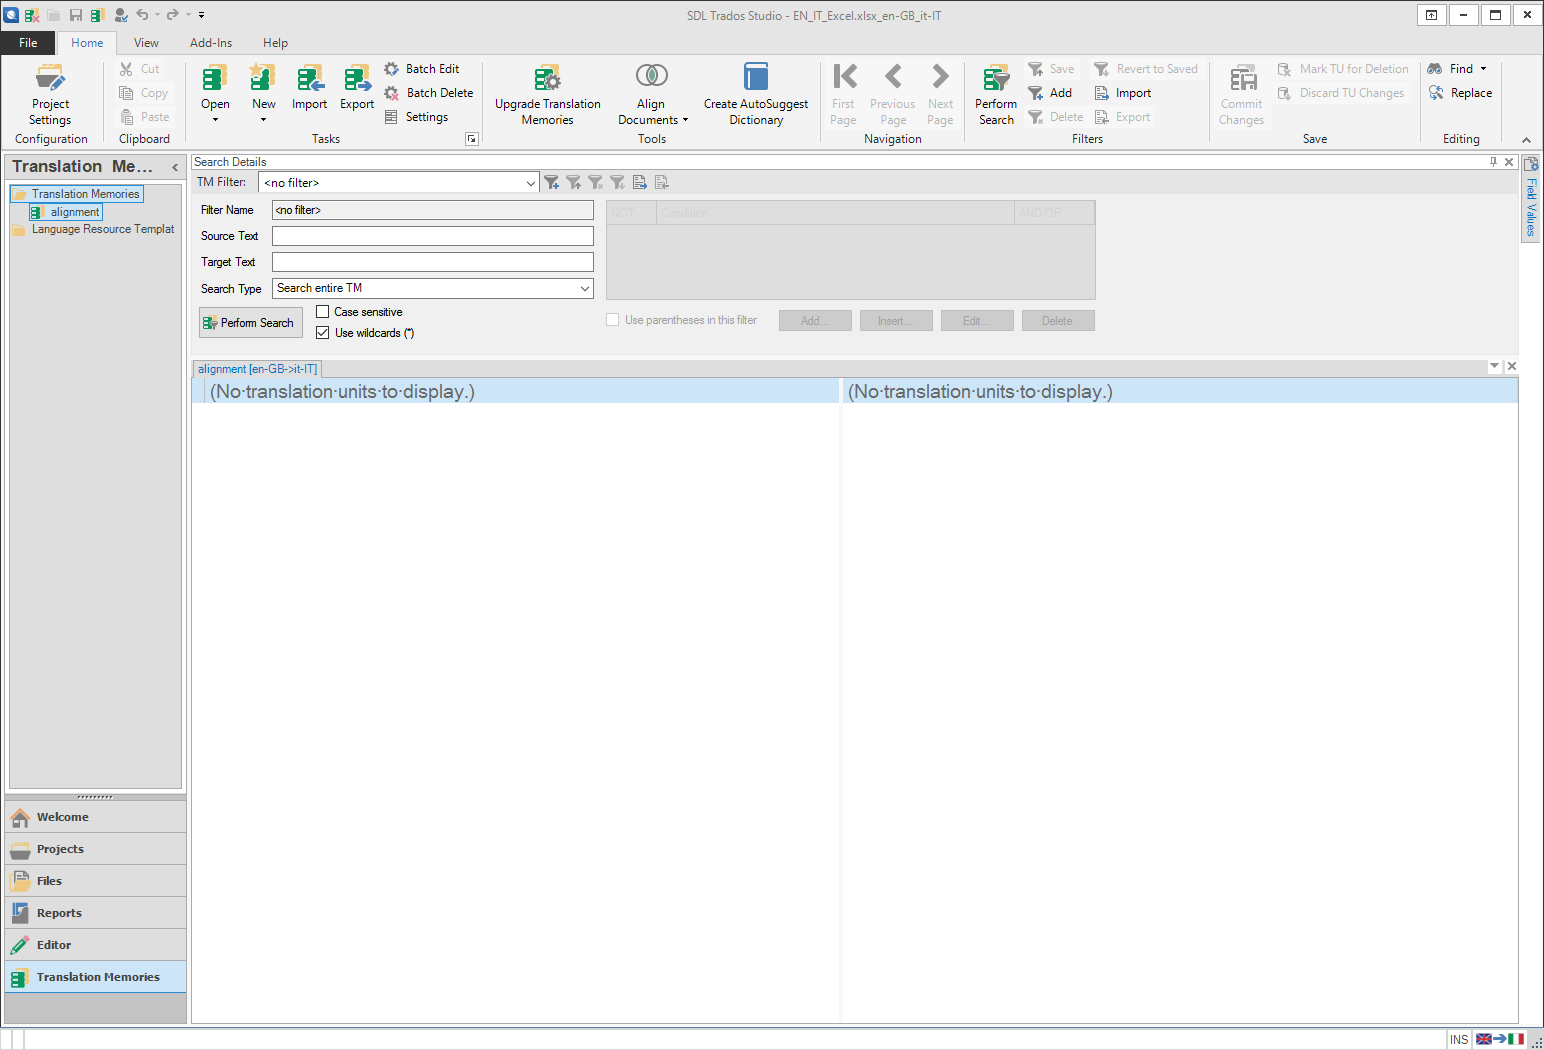
- In the last dialog, when the creation has been completed, click on Close, and you will get an Empty TM in which we will import “our” entries.
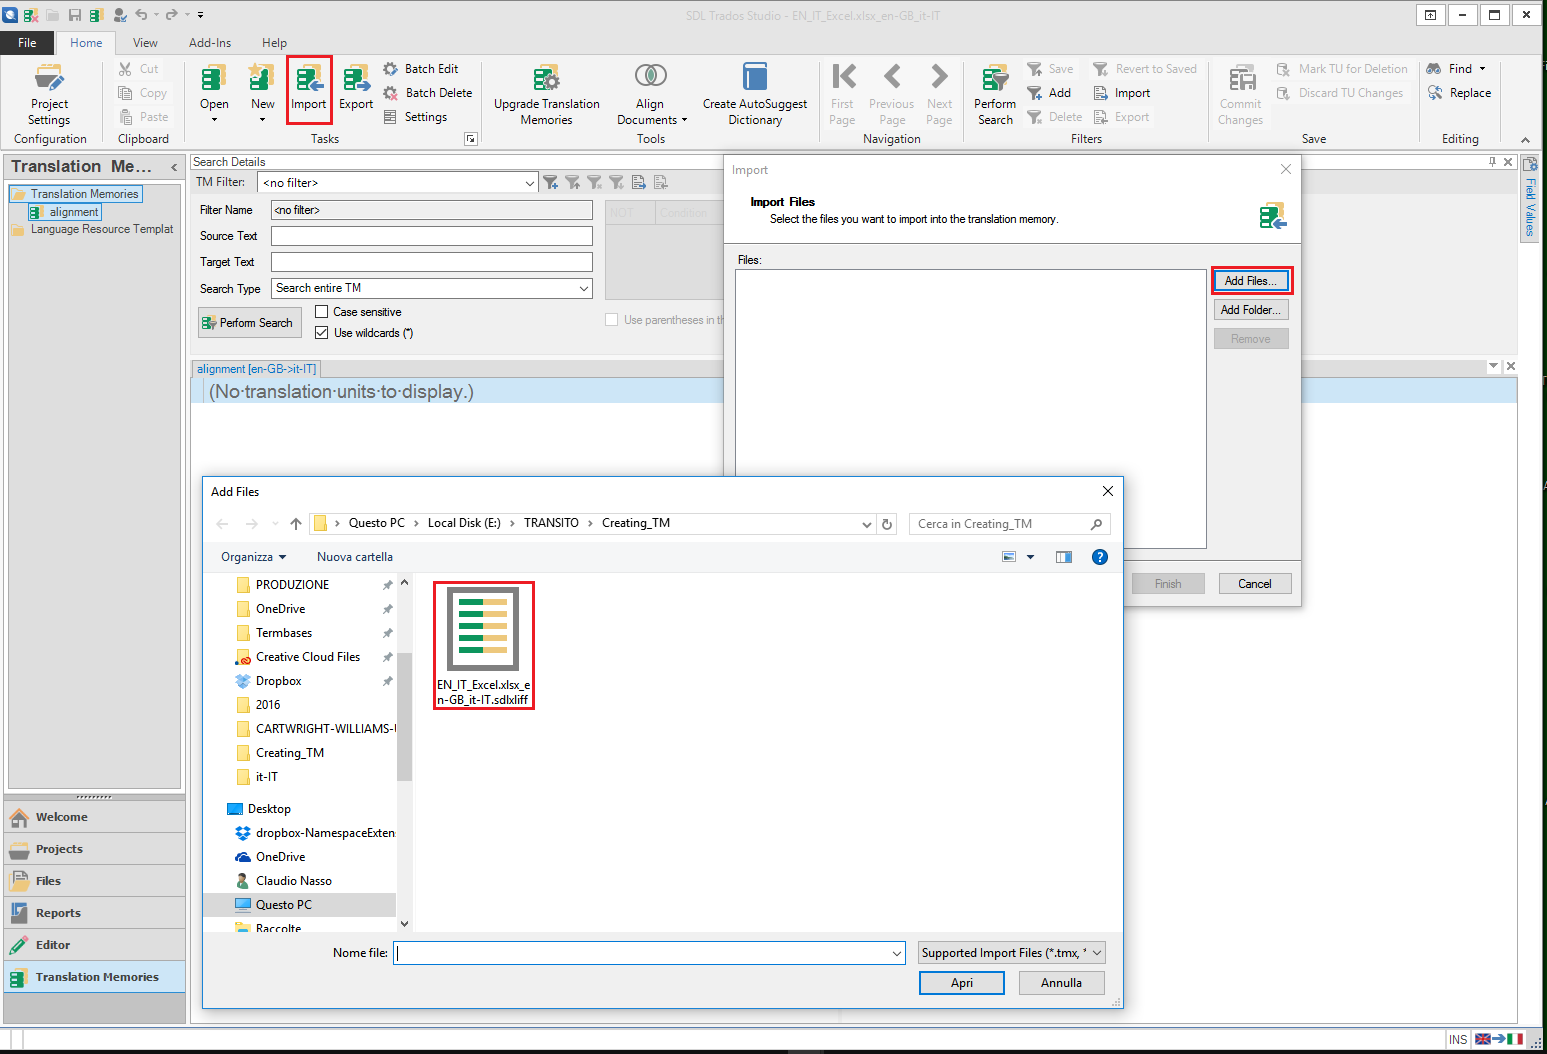
- Click on Home > Import to access to the Import Files dialog and click on Add Files to get the list of importable files.
- From the drop-down menu select Supported Import Files and then double click on the SDLXLIFF file previously generated (EN-IT_Excel.xlsx_en-GB_it-IT.sdlxliff).
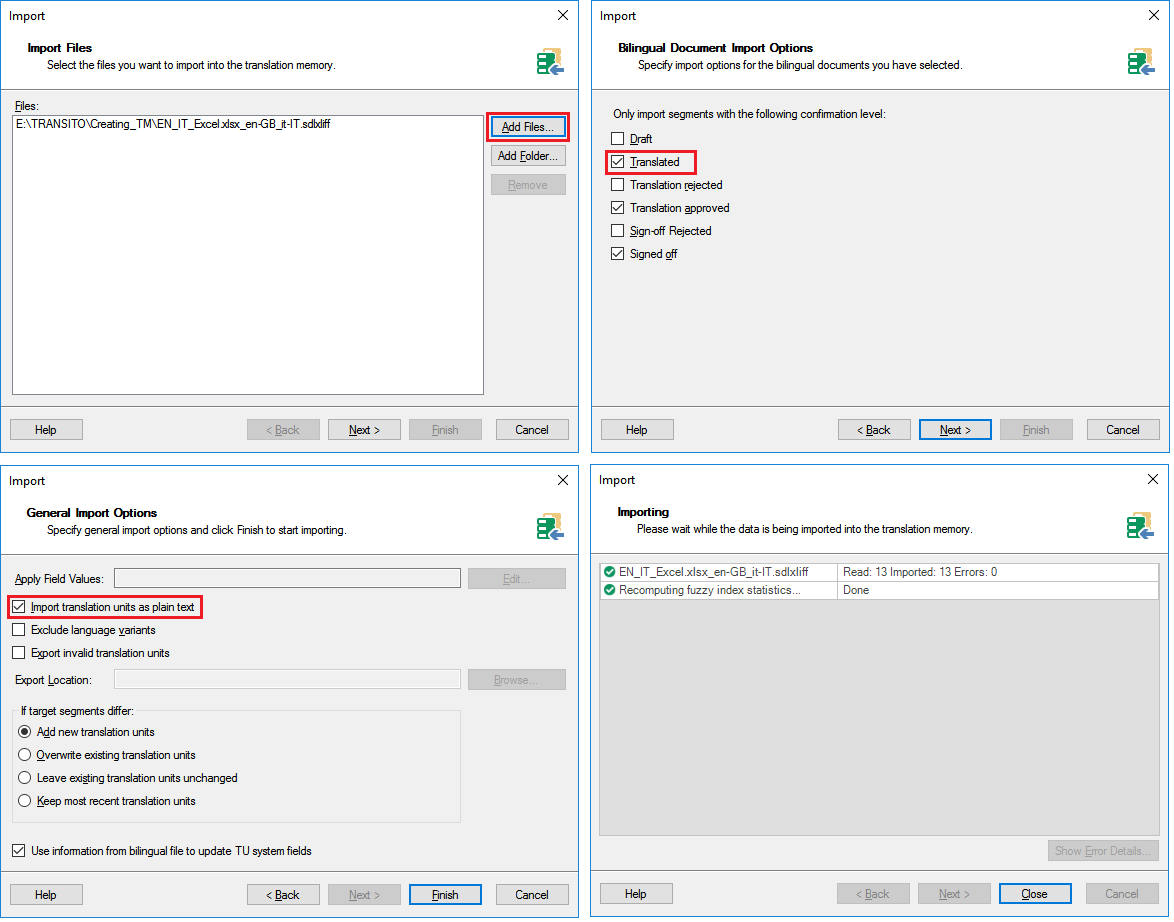
- In the first dialog, reporting the selected file to import, click on Next; in the second one check Translated and other options you need and click on Next; in the third one check Import translation units as plain text, in section If target segment differ: choose the option you need and click on Finish. When the import process has completed (fourth dialog), click on Close.
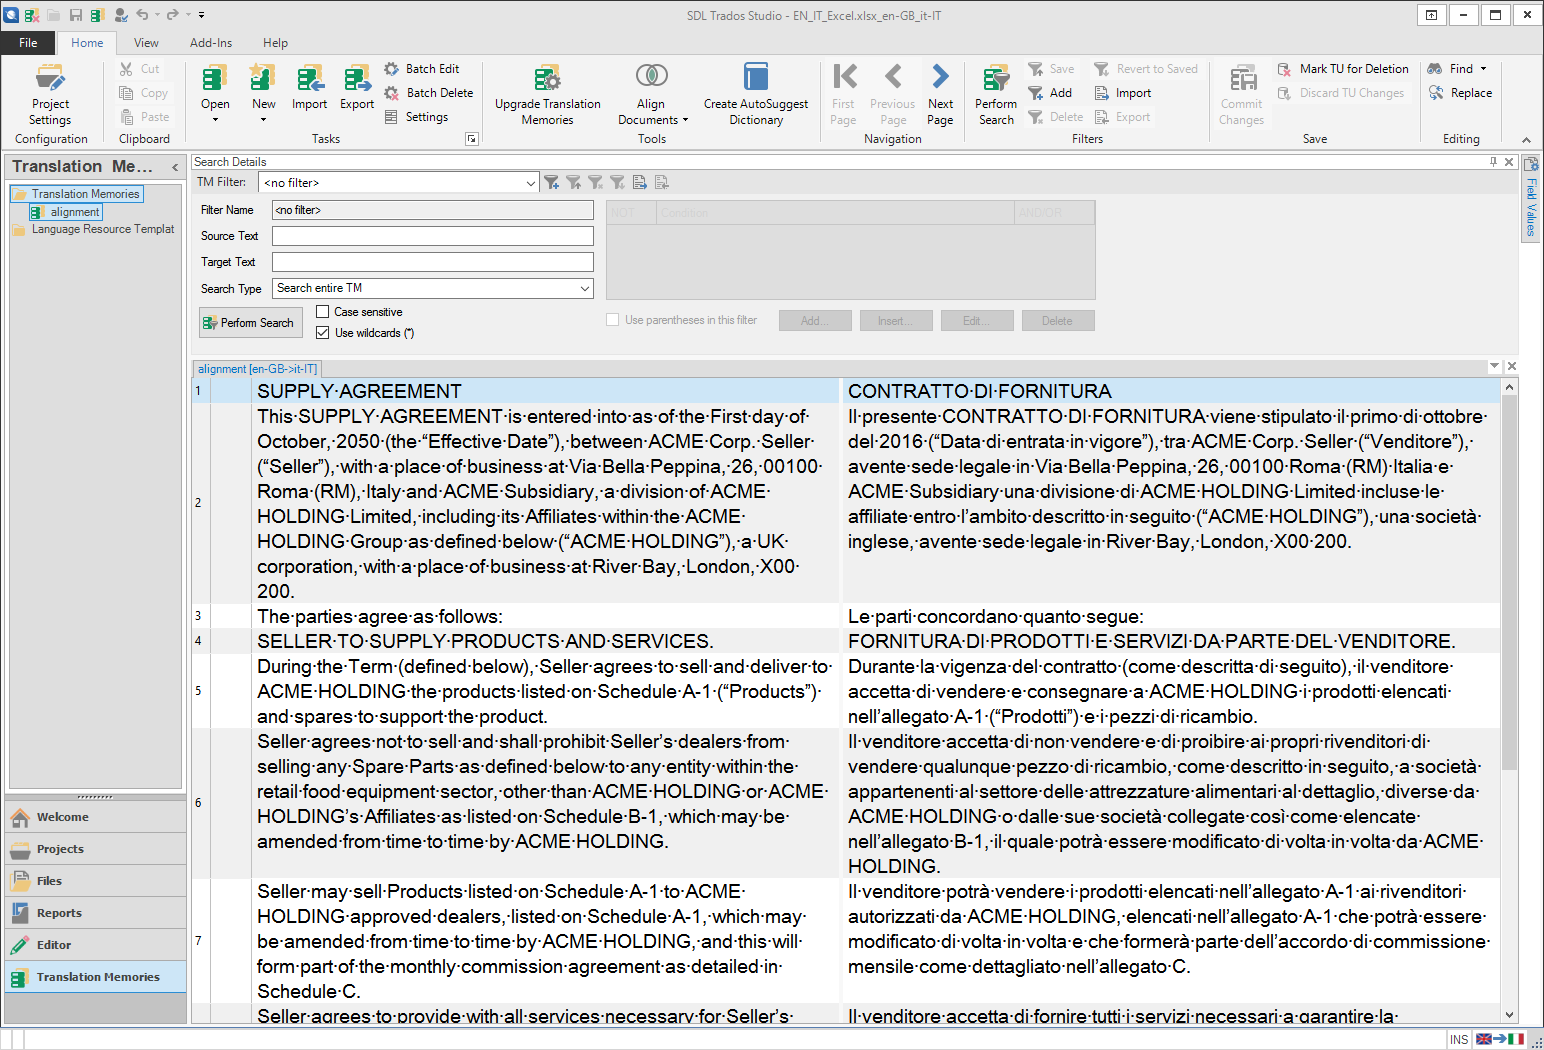
DONE! Your brand-new translation memory has been finally created, and you will be able to use it as any other local TM.
Thank you for your attention, and I hope this may help you when dealing with an original source document and a translated target one from which you want to create a brand-new TM without involving SDL “Align”.
Claudio
