On a regular basis we are approached and asked "is it hard to install SDL Trados Studio 2019?" or "do you have an installation guide?".
Gone are the days where software was difficult to install- Studio is a self extracting/installing software that just requires a few clicks.
As you can now run Studio 2017 and 2019 side by side and the install process is the same for both versions- the screen shots below are valid for both installs.
So let's get started...
Following the purchase of your license, you will have been asked to create an SDL Account.
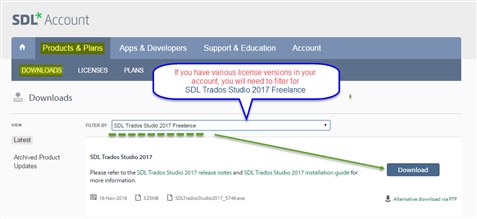
Now log in to your SDL Account and click on the DOWNLOADS tab, select SDL Trados Studio 2019 from the drop-down and click on the Download button.
The download will begin.
When you download the Studio software, this will be stored in your computer's Downloads folder.
Go to your file directory and locate the Downloads folder, click on it and now locate the SDL Trados Studio 2019 application.
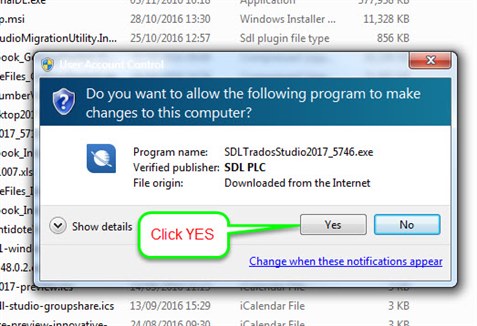
...double click on the SDL Trados Studio 2019 file and the following message should pop up...
If you DO NOT see this message and/or you don't seem to be able to progress any further, please ensure you are logged on to the computer as administrator and have the necessary (admin) rights.
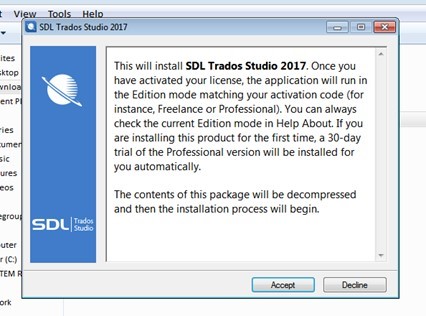
Now we should be ready to start the actual installation process....
Click Accept.
PLEASE NOTE:
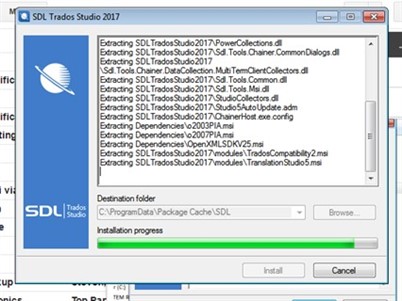
DO NOT try to change the destination folder. Studio can only be installed to the default boot drive C:/ An installation to any other drive (local or cloud) would result in a failed installation attempt or would require a Professional license purchase.
You will see the files start to extract..
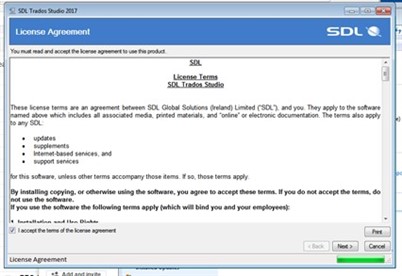
and the all important Terms and Conditions....don't forget to tick the box.
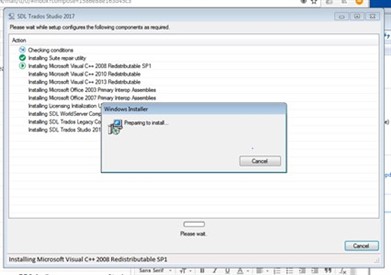
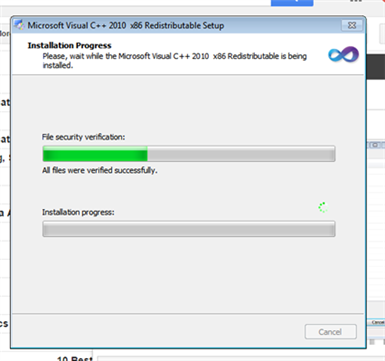
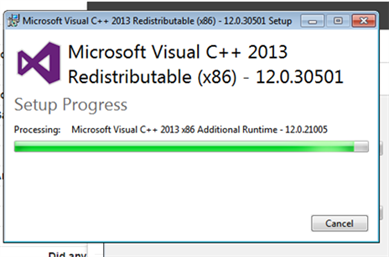
...now configuring the software for your system
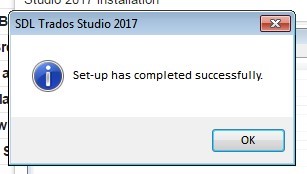
....and the final message.
Congratulations, you have now successfully installed Studio 2017 and are ready to activate your software.

 Translate

